What Product studio builds around the product, and what it protects
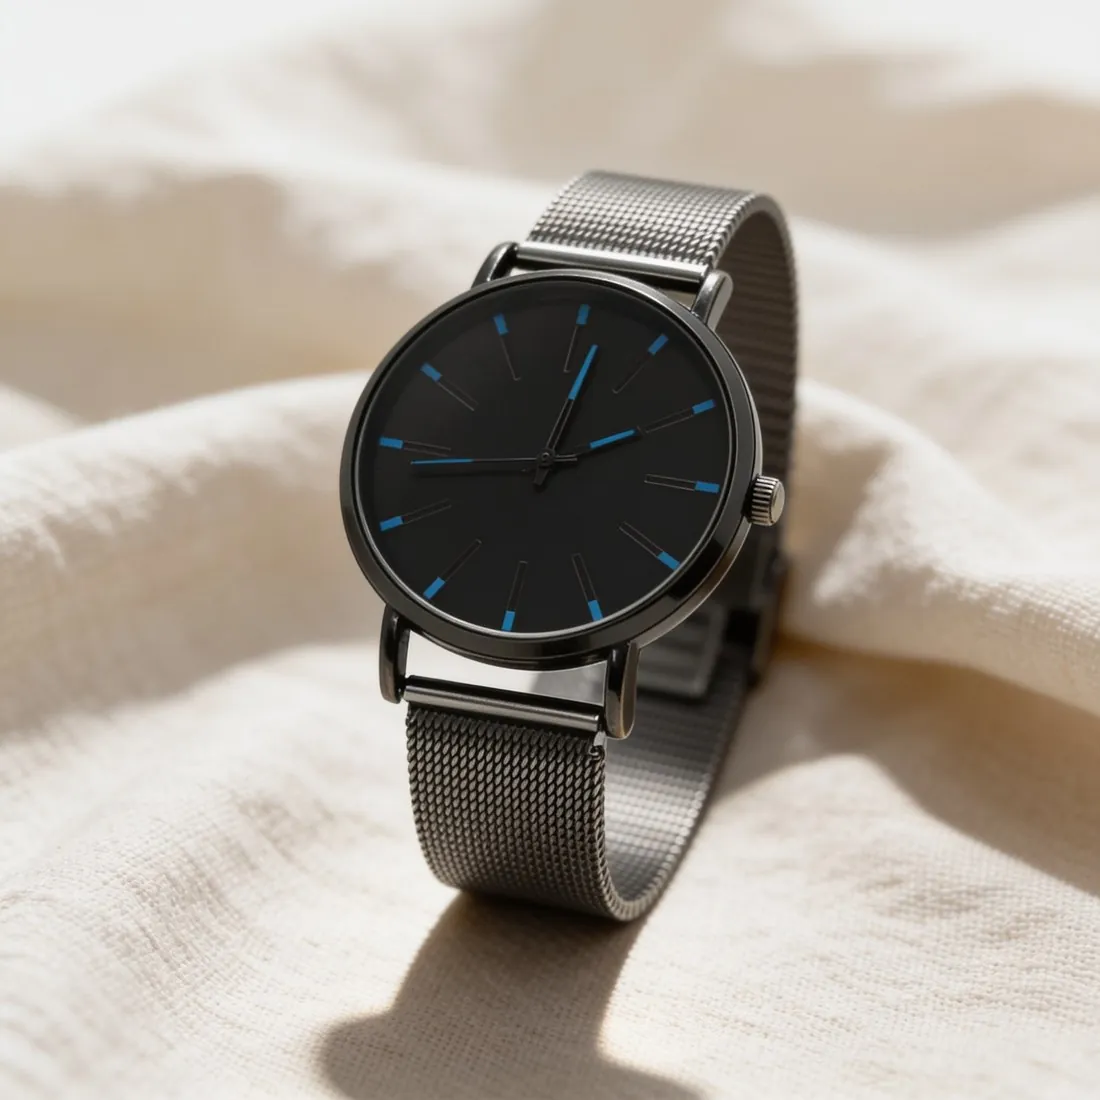
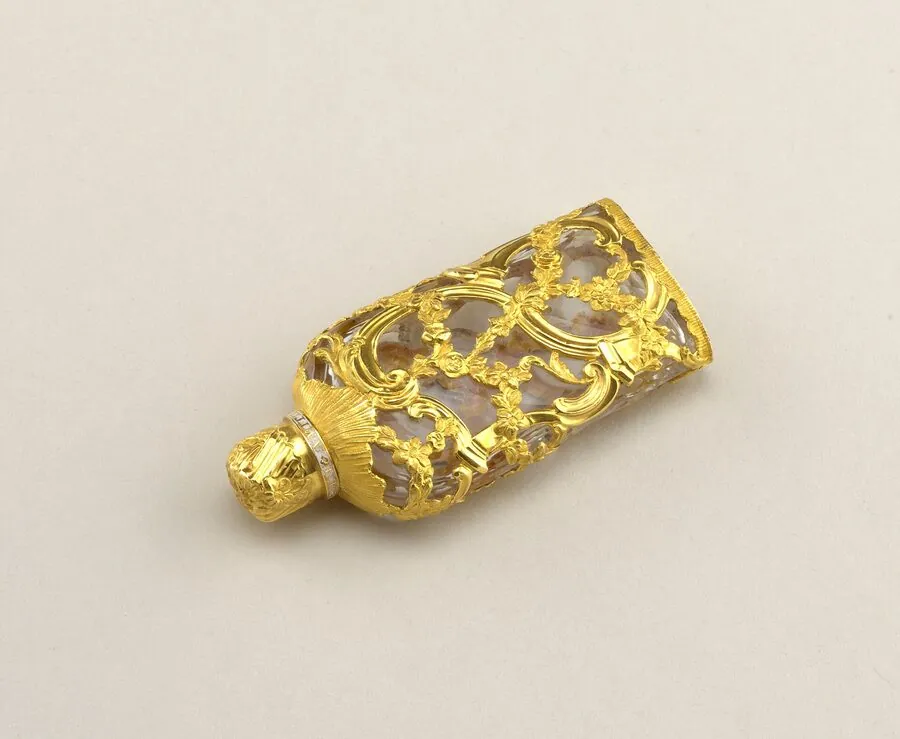
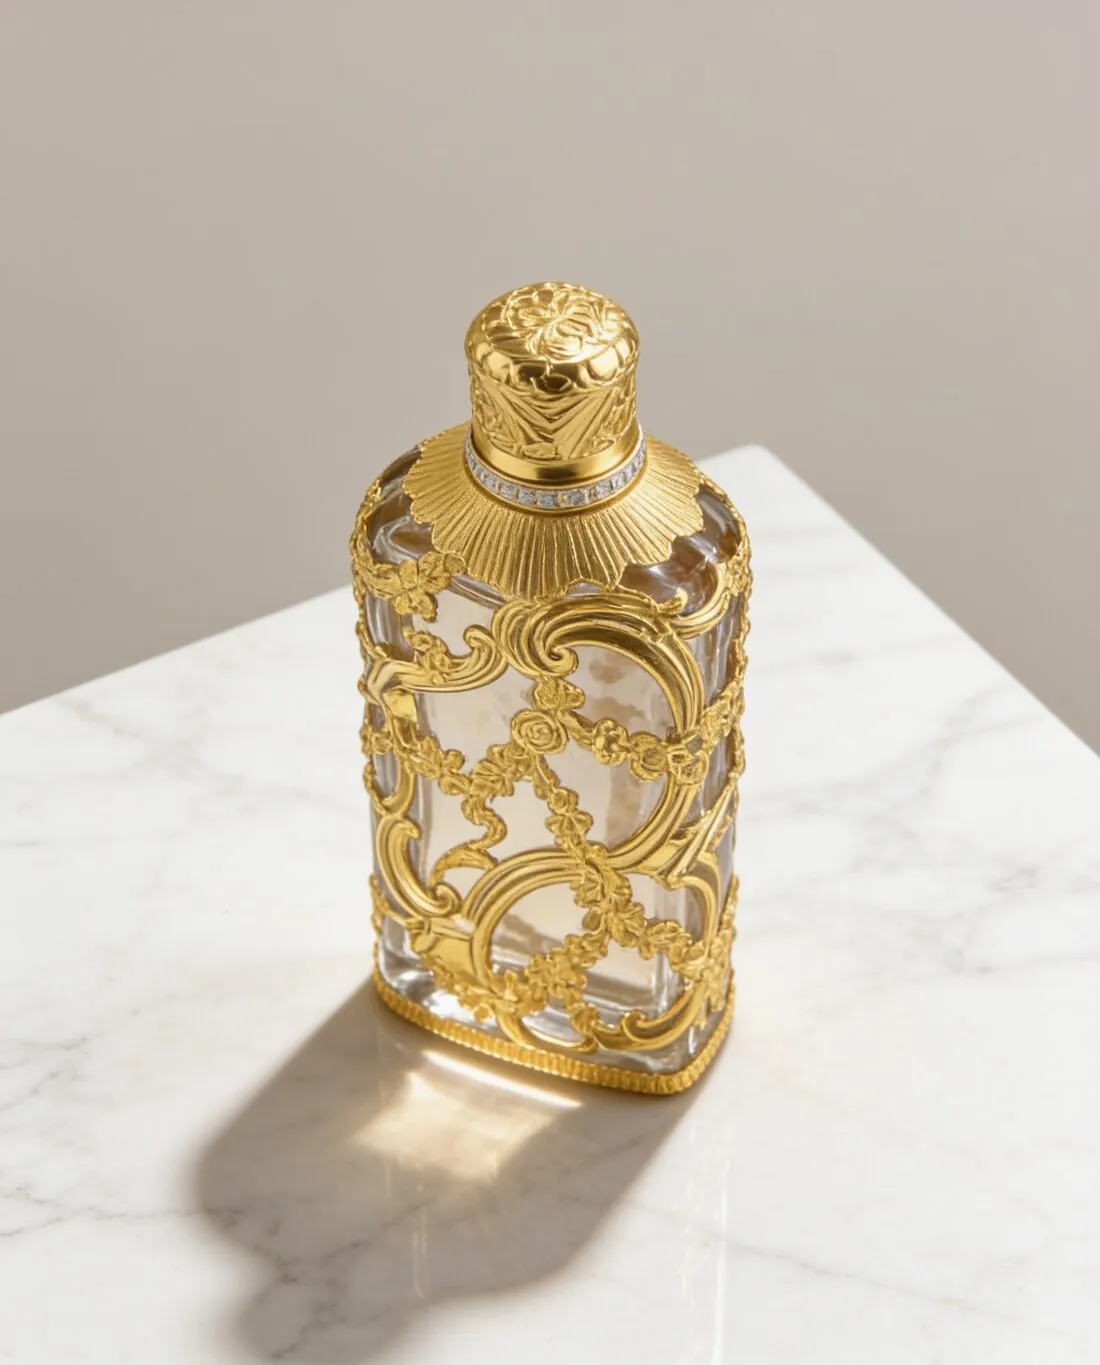
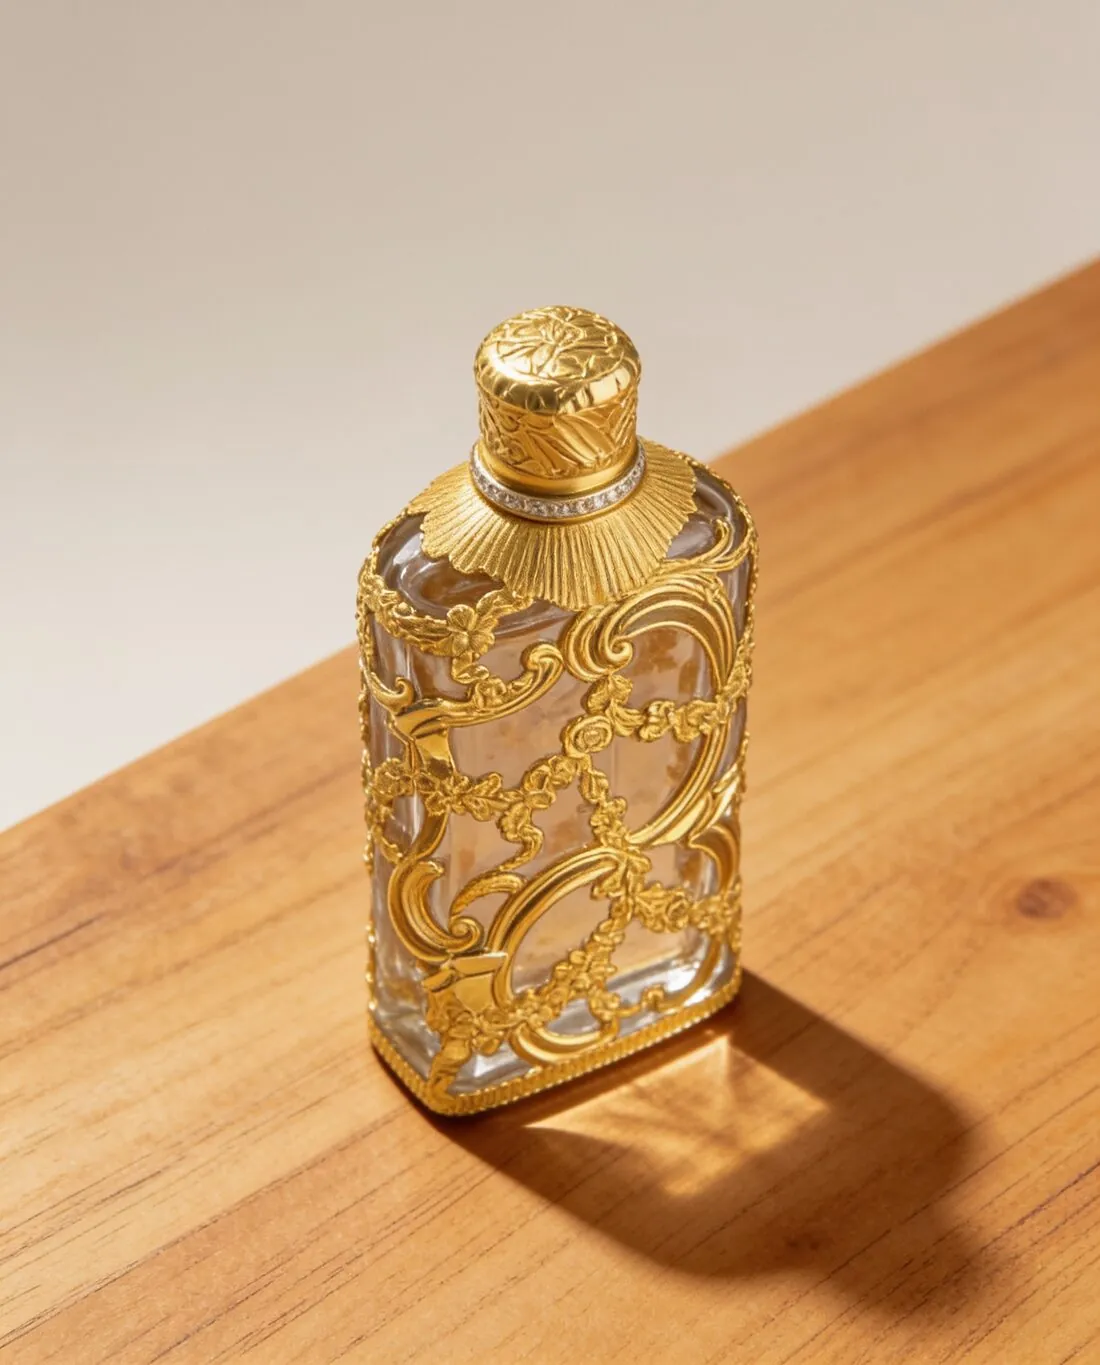
Product studio takes a photo of a product and renders it again as a product shot without a model. Several choices shape the image. The scene is a studio ground, light or dark, a setting such as marble, concrete, a pedestal, a kitchen or outdoors, or a background image the seller uploads. The angle is front, three-quarter, side or top-down, and the light soft, dramatic, natural or a rim light. Beneath the product the brief asks for a soft contact shadow, a mirror reflection or no visible shadow. Format and resolution are chosen in the same step.
The product is what the brief protects. Shape and proportions, colours, materials and finish are to be reproduced as photographed, and every logo, label, printed text and hardware detail is to stay character for character in the same place. Nothing is to be added: no handles, straps, parts or accessories the product does not have. The tool is also briefed to show the product once, centred and filling most of the frame, with no people or mannequins, and a hand only when the hand setting asks for one. A pair, such as two shoes, counts as one product.
Which products belong in Product studio, and which elsewhere
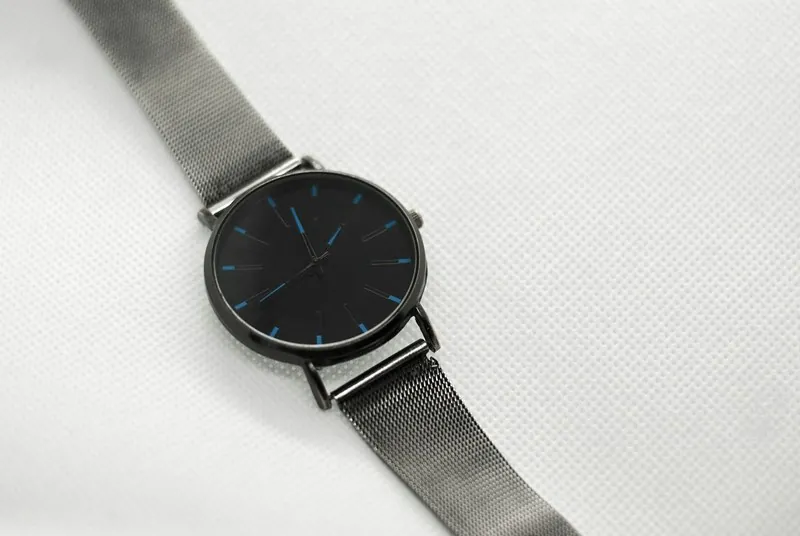
Product studio is made for products sold as objects: footwear, eyewear, bags, jewelry, headwear, watches, cosmetics and homeware, and apparel when it is shown as a product and not on a body. For several product types the brief adds a line of its own: the dial, hands, indices, case and strap of a watch, every word on a cosmetics label, the two unfolded temples of a pair of glasses, or the left and right shoe shown together with their sole profile, laces and logos.
Neighbouring tools cover what this one leaves out. When the photo is already right and only the background has to go, Remove background cuts the product out without redrawing it. When a garment needs a worn shape without a person, Ghost mannequin delivers a hollow-body shape or a clean flat lay, and when the product should be worn or carried, Virtual try-on puts it on a studio model. The scenes here come from a fixed list or an uploaded background; for a scene written in the seller's own words, Canvas builds it around the product photo.
Checking a product shot: text, parts, shadow and scene
Text comes first. Small lettering on a label, a dial or a pack is the detail to compare with the product before anything else: read brand names, label wording and logos at full size, letter by letter. Then count the parts. A bag should have the handles and straps it has in reality and no more, a pair of glasses two temples, a pair of shoes one left and one right shoe. An added part, a changed word or a second copy of the product in the frame is a reason to generate again.
Then look at how the product sits in the scene. The shadow or reflection should match the option chosen, and the product should rest on the surface, not float above it. With an uploaded background, the brief asks the tool to match the perspective, the horizon and the direction of light of that image and not to redraw or restyle it, so compare the scene with the upload as well. The tool has no setting for placement or props: the product is briefed to sit in the centre, and a layout that needs empty space for a headline is composed by Ad creative.