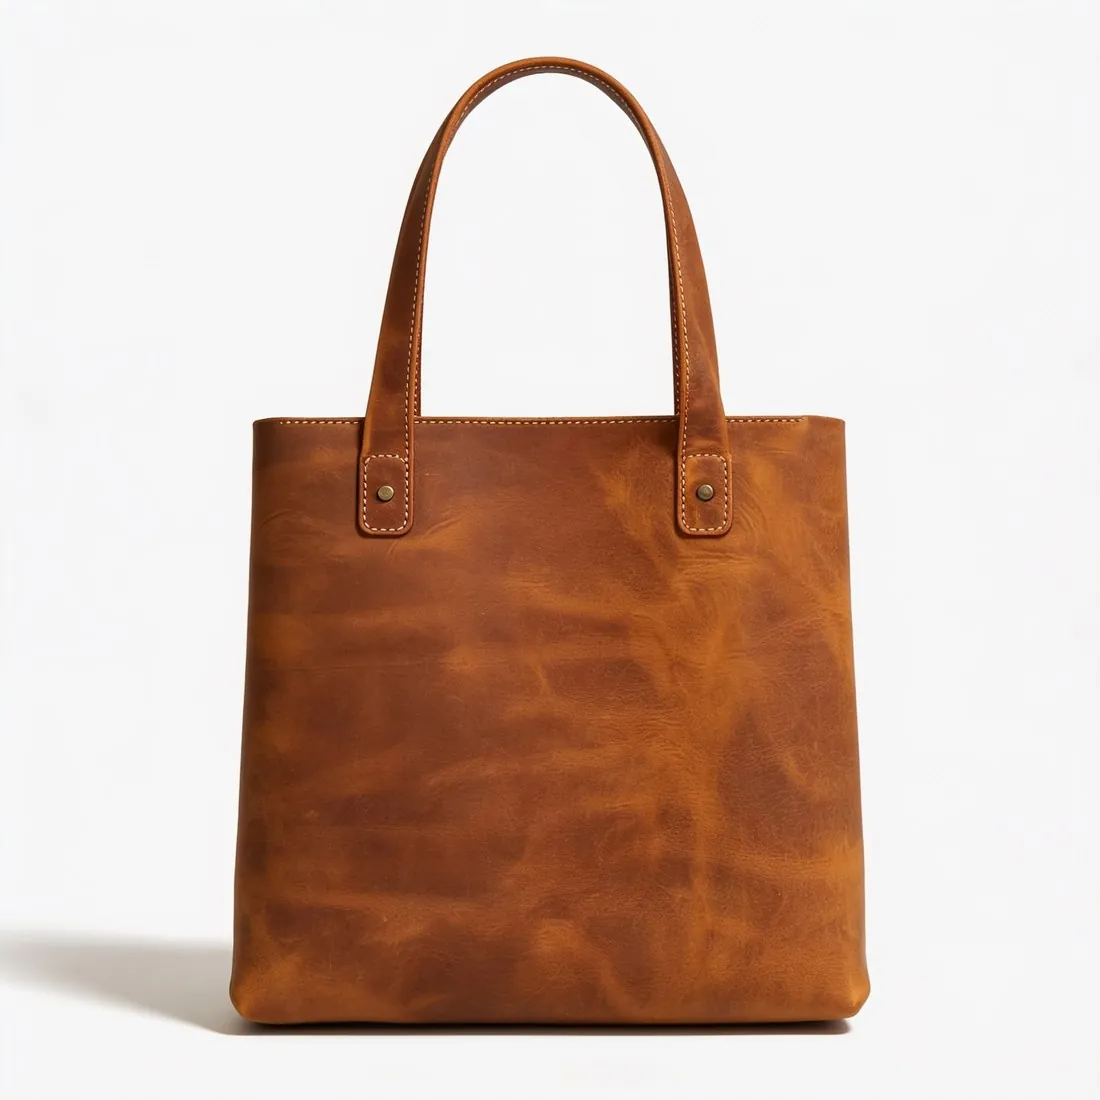
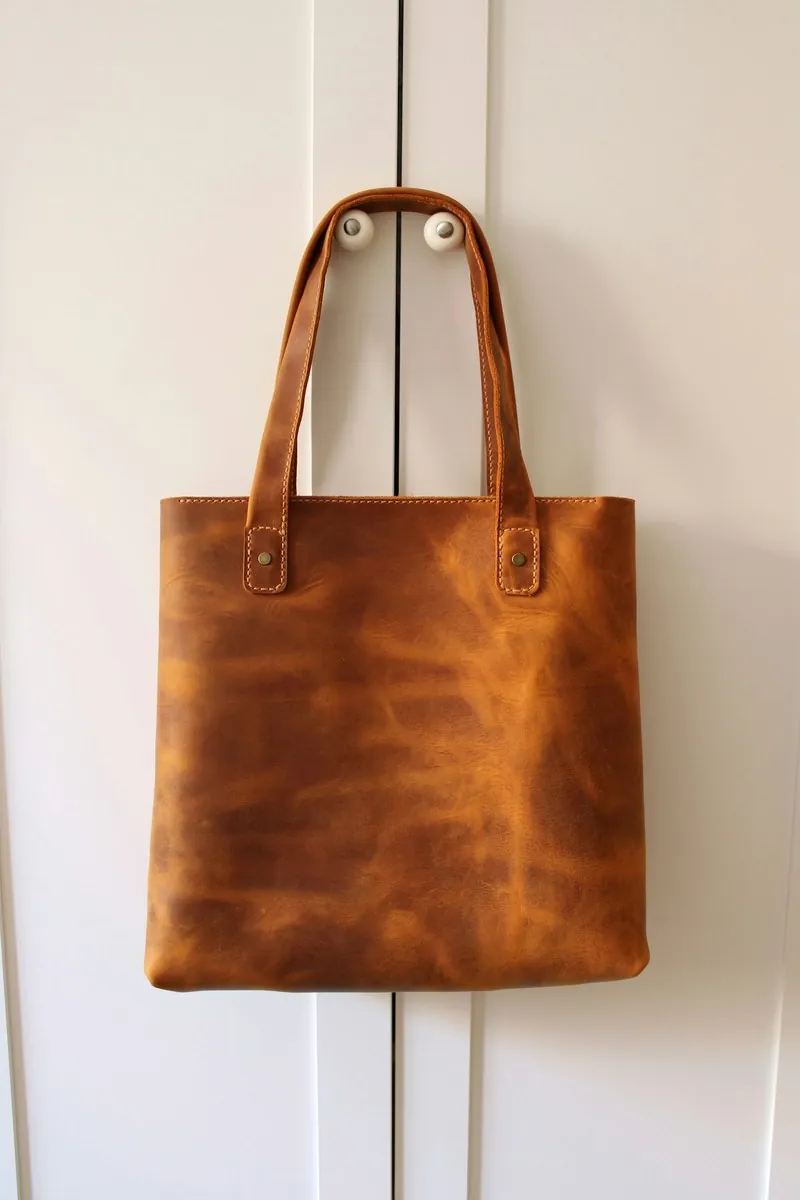
1. Stuff the bag until it stands
Empty the bag completely, pockets included, and shake out crumbs and old receipts. Then fill it with tissue paper, bubble wrap or a small cushion, pressed into the corners of the base first and built up until the gussets stand and the front panel lies smooth. Stop before the seams strain or the top edge bows outward: an overfilled bag looks as wrong as a collapsed one.
Close it the way it is carried. Fasten the flap, run the zip to its end, press the magnetic snap shut and do up the buckles of a satchel. A structured bag with a rigid frame needs little more than a wipe; soft leather, canvas and nylon need the most filling. Take the wrapping off the handles and wipe finger marks from the metal plates.
2. Top handle up, strap accounted for
Take the front photo straight on, with the lens at the height of the middle of the front panel. From higher up the bag narrows toward its base; from lower down the top handle looms over the body. Step back until there is clear space above the handle and beneath the feet.
Handles and straps are the parts that wander. A top handle belongs upright above the opening and not folded across the logo; a loop of clear thread tied to a shelf above, or a roll of paper inside the handle, holds it there. A long shoulder strap either rises to a hook so its drop can be seen, or lies in one loose curve beside the bag, never out of the picture and back in again. A detachable strap can be attached in one photo and laid out straight in the next, which also shows its length and its clips. Measure the strap drop, from the top edge of the bag to the highest point of the strap, and write it in the listing.
3. Gusset, back panel and base
Turn the bag a quarter and photograph the gusset. Its width tells a buyer how much the bag holds, and its folds show how the bag has been stored. The back panel gets a photo of its own, above all where it carries a slip pocket or a zip. Then lay the bag on its back and photograph the base, with its metal feet or its bare corners.
Leave the phone where it is for these views and move only the bag. A set that shares one background, one light and one scale reads as a single object seen from every side.
4. Hardware, zips and stitching up close
Metal is where a bag catches the room. Clasps, rings, buckles, studs and zip pulls return the window as a white flare and the phone as a dark rectangle. Turn the bag by a few degrees, or lift the phone slightly, until the flare slides off the engraved area. A sheet of white paper held just outside the picture fills the dark side of a buckle with an even tone.
Move in for separate close-ups: the main clasp, the zip pull with the teeth of the zip in view, a strap ring where leather meets metal, and a run of stitching along a handle. Keep the phone far enough away to focus, and tap the screen on the metal. These photos show plating that has worn through to another colour, scratches on a turn lock and the regularity of the stitches.
5. Lining, inner pockets and the tag inside
The interior is a dark hollow, and the phone sets its exposure for the bright outside. Take the stuffing out, hold the opening wide toward the window and tap on the lining so the exposure follows it. White paper laid in the bottom throws light back up the sides. Photograph the lining as a whole, then each inner pocket, the zipped compartment and the underside of the flap.
Somewhere inside sits the evidence of what the bag is: a stamped leather tab, a sewn label, or a serial or date code on a small tag in a pocket seam. Photograph each one flat and sharp enough to read at full zoom, and keep the file as the phone saved it, since a forwarded copy is too small for a stamp to stay legible.
6. Corners, edges and handle wear
A used bag wears in predictable places: the corners of the base, the piping along the edges, the handles where hands darken the leather, the painted edges of the strap and the lining at the bottom of the main compartment. Photograph each of them, clean ones included, because a sharp photo of an unworn corner is evidence too.
Side light shows scratches and creases, so turn the bag until the mark is visible on the screen before pressing the shutter, and leave colour and contrast as recorded. A stain inside, a pen mark, a loose thread, tarnish on a ring or a replaced zip pull belongs in both the photos and the description. Finish with one photo of everything included in the sale: dust bag, strap, lock and keys, box.
Checklist
- Bag emptied, stuffed and closed
- Front straight on, handle upright, whole strap in frame
- Gusset, back panel and base as separate photos
- Clasp, zip and stitching close-ups without glare
- Lining, inner pockets and the inside tag, readable
- Corners, edges and handles, worn or clean
Updated 12 October 2026