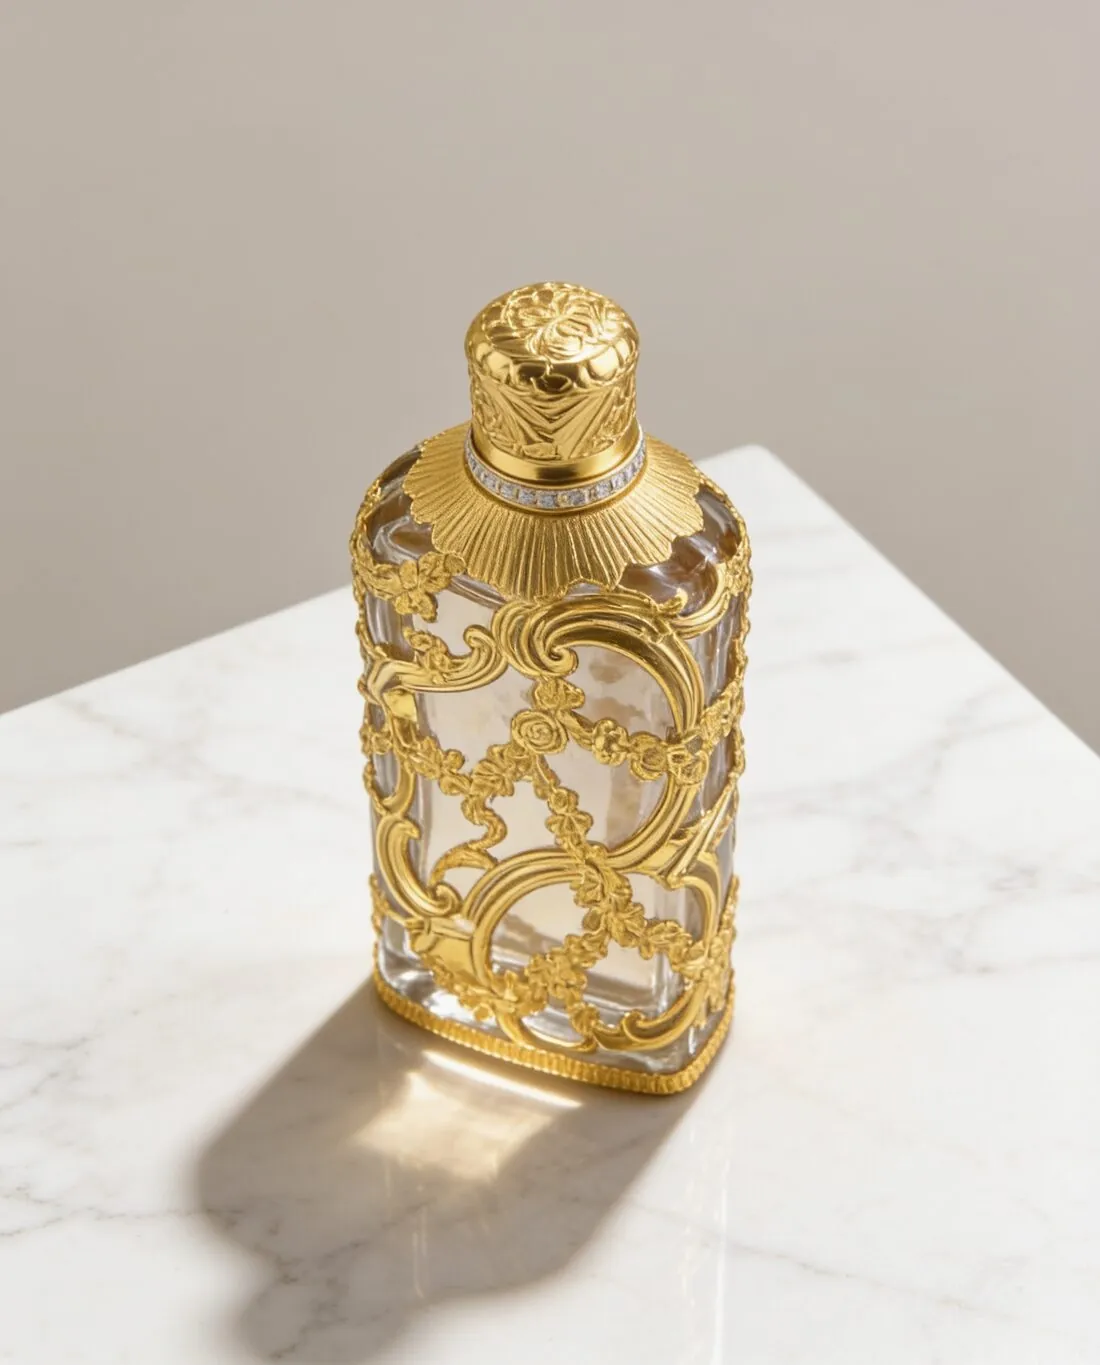
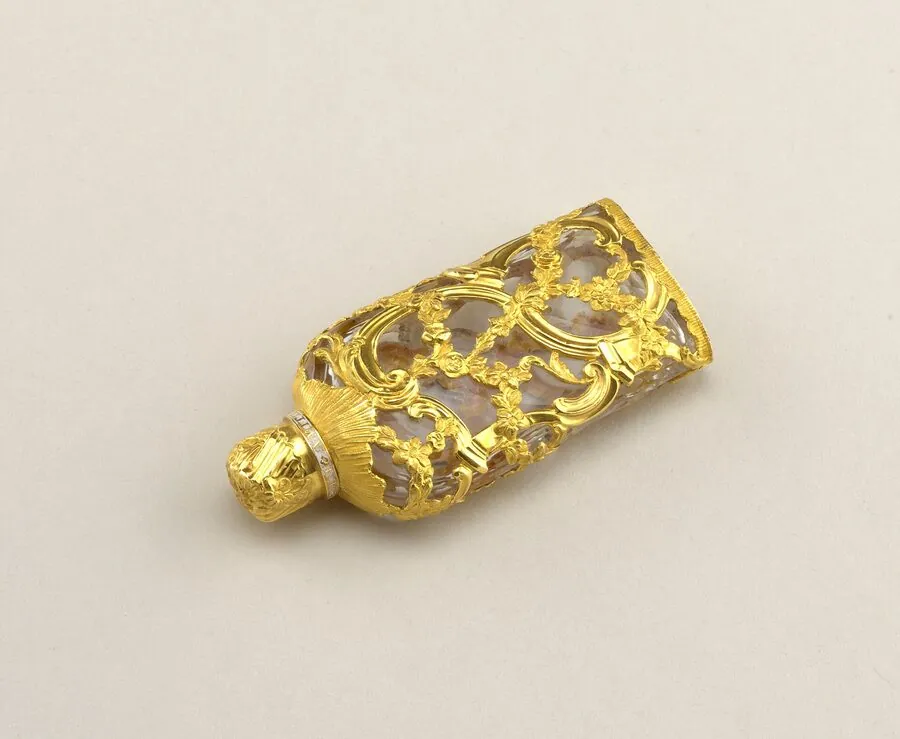
1. Clean, full and facing forward
Packaging records every fingerprint, scratch and smear of product. Wipe each bottle, jar and tube with a lint-free cloth, clean the thread of each cap, and from then on handle the product by its edges. A tube looks best full and smooth; a squeezed or creased tube reads as used. Turn every item so the front label faces the camera squarely, the text level and centred.
Prepare the pack as it reaches the buyer: caps closed and aligned with the label, pumps turned the same way as the front, protective seals in place on a new product. Remove price stickers and the shop's own labels. A palette or a compact is photographed closed for its front, then open for its contents.
2. Labels that can be read
The label is information, and the photo has to be sharp enough to read it at full zoom. Hold the phone parallel to the front of the pack, at the height of the centre of the label, and tap the screen on the product name. Curved surfaces, such as a round jar or a lipstick, bend the text away at the edges; stepping back and zooming in a little flattens the curve, while moving closer exaggerates it.
Glossy labels and metallic foil reflect the window as a white streak across the words. Move the light to the side, or hang a thin curtain over the window, until the streak softens and the text reads through it. A matte label is straightforward; a foil or holographic label usually needs a few frames at slightly different angles, of which the clearest is kept.
3. Glass, liquid and transparent packs
A clear bottle shows whatever stands behind it. A plain white or light-grey background a short distance behind the bottle keeps the colour of the liquid readable and the edges of the glass defined. Light from behind or from one side passes through the glass and shows a fragrance or a serum in its real colour; light only from the front makes the liquid look flat and greyish.
Thick glass bases and faceted bottles collect reflections of the room. A sheet of white card on each side of the bottle, just outside the frame, replaces them with clean white edges. Fill levels are part of the product: a bottle photographed half full is a used product, and a tester with a different cap is a different item.
4. Shades, swatches and textures
Colour is the main reason a make-up product is chosen, and the phone's automatic white balance adjusts it to the light in the room. Photograph shades in daylight, without filters, and put a white card in the frame for one test shot to check that white looks neutral on the screen. Compare the photo with the product held next to the screen; where they differ, retake the photo rather than correcting the colour by eye.
A swatch shows what the packaging cannot: the colour and finish as applied. Swatches on paper or on skin are photographed in the same light as the product, side by side, and named in the description with the shade. A texture shot of the open product, such as a cream with a spatula mark or a pressed powder with its pattern, adds a view buyers otherwise ask for.
5. Ingredients, packaging and sets
The back of the pack carries the ingredients, the volume or weight and often a batch code. Photograph it as an image of its own, flat and sharp enough to read. Orderchamp asks for Beauty & Health products always to include a picture of the ingredients. Wolf & Badger asks for the first or second image of a beauty product to show it out of its packaging, and for each product in a gift set to be photographed individually in later images.
Outer packaging belongs in the listing when the buyer receives it: one photo of the box, then the product out of it. Zalando accepts packaging in packshots only for a few categories, beauty among them. A set is shown complete in one photo, arranged as it sits in the box, followed by each item alone.
6. The first image, channel by channel
Most marketplaces want a beauty product on a plain background in the first image. Zalando's catalogue view for beauty is a primary packshot, and one compliant image is the minimum there. Mercado Livre still requires white for beauty, while recommending light, contextual backgrounds in other categories. A staged photo with stone, flowers or water is better placed after the packshot.
Some platforms also limit how AI may be used on the product itself. Wolf & Badger permits AI for backgrounds, settings, lighting and lifestyle context, but not to generate, alter or improve the product, and requires at least one true, unedited photograph of the actual product as the hero image. Where a channel sets such a rule, the hero image there is the seller's own photo, and any generated scene comes after it.
Checklist
- Packs wiped, caps aligned, price stickers removed
- Front label square to the camera, sharp at full zoom
- Light through the glass from behind or the side
- Shades in daylight, checked against the product
- Ingredients panel and every item of a set
- Each channel's first-image and AI rules checked
Sources
- Zalando Partner University — Image guidelines
- Wolf & Badger Help Centre — What are the product image requirements for apparel?; accessories & jewellery; beauty; homeware; Can I use AI-generated imagery on Wolf & Badger?; My images/text are being rejected; How can I crop/resize my images in bulk?; Step-by-step, how do I manually upload a product?
- Orderchamp Help Centre — What are Orderchamp's storefront guidelines?; What are the photo requirements for my products?; How to get a good Catalogue Health score?; How to manually import your products?
- Mercado Livre Central de Vendedores — Fotos de qualidade
Checked 10 October 2026. Rules change; the official pages are the final reference.