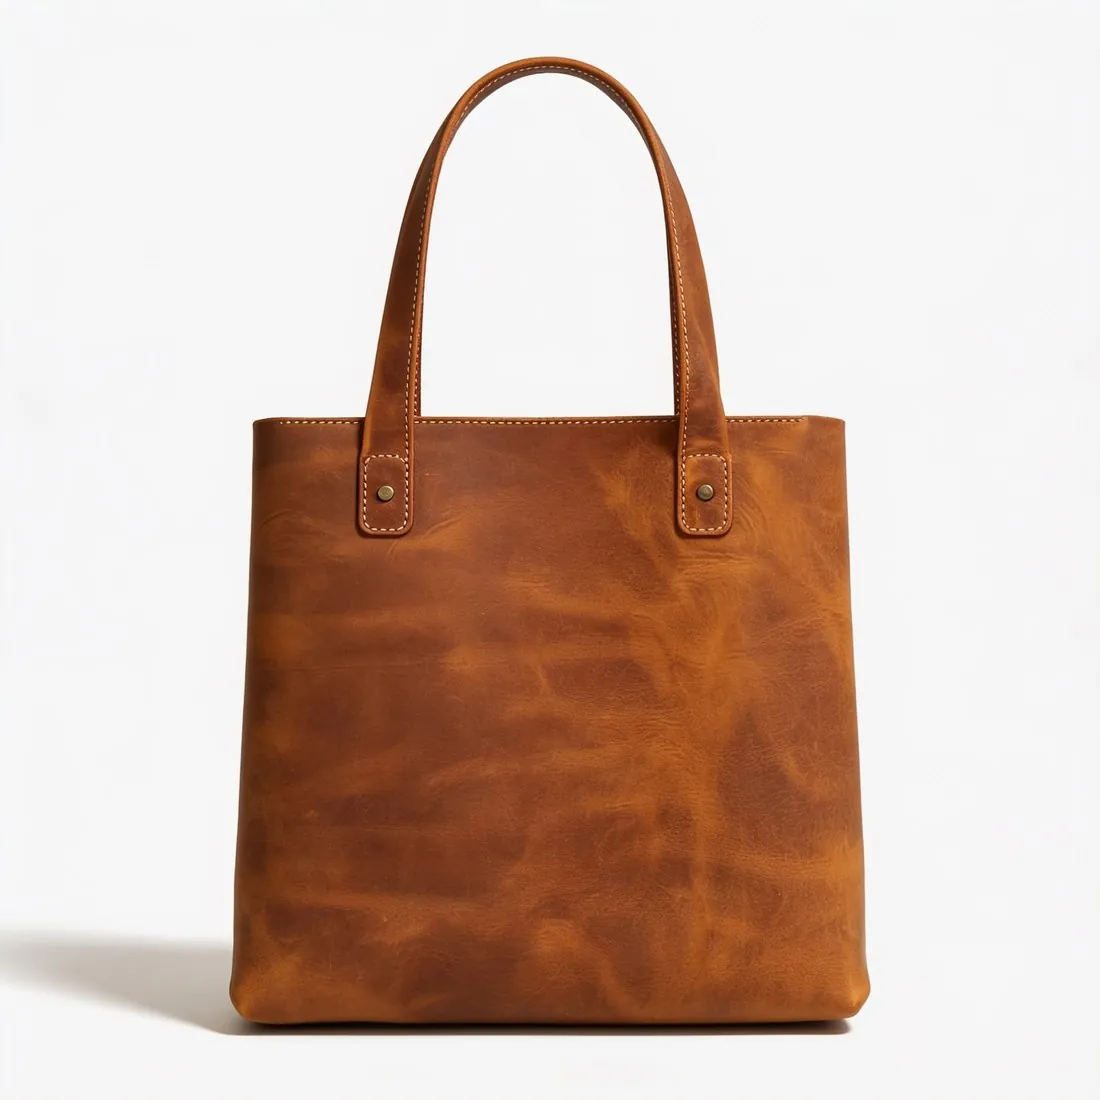
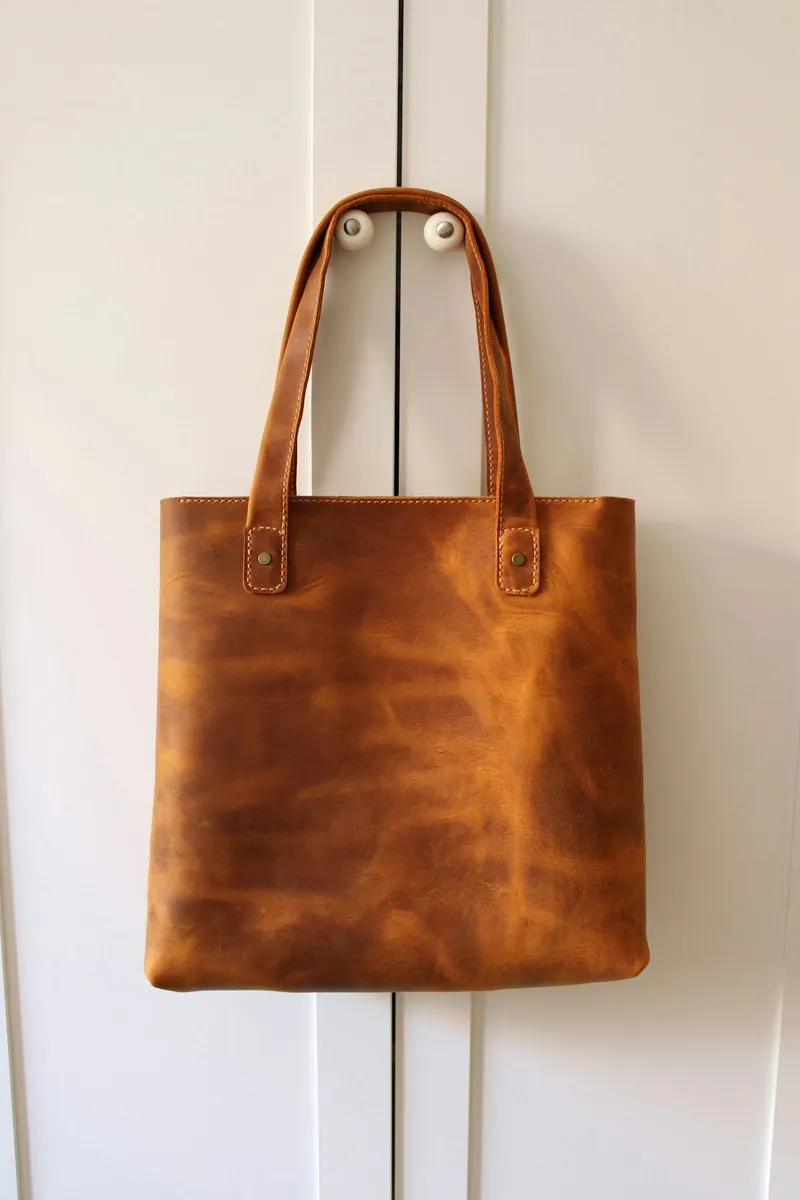
What light works best for iPhone product photos?
Soft daylight from a window works best for iPhone product photos. An overcast day or a window out of direct sun gives even light with gentle shadows. Place the product beside the window, not in front of it, and turn off the room lights, because a warm ceiling lamp mixed with cool daylight tints the colours.
A sheet of white card on the side away from the window fills the shadow at almost no cost. Direct sun gives hard shadows and burns out highlights; a thin white curtain softens it.
Turn the flash off. Apple's guide says the iPhone uses the flash automatically when needed, and the Flash control above the frame switches between Auto, On and Off. On a product close to the lens, a flash flattens texture and leaves a hot spot on anything glossy. Vinted's photo tips also say not to use flash or filters.
What background should I use for iPhone product photos?
A plain background in white, grey or another neutral tone works best, because it keeps attention on the product and makes later cut-outs clean. A sheet of white paper curved up a wall, with no visible join, gives a studio-like sweep for small products. A clean wall, a hanger on a door or a bed works for clothes.
Leave clear space between product and backdrop, so the shadow falls away from the item. Choose a backdrop that contrasts with the product: a white item on white paper is the hardest case for both the eye and a cut-out tool. A home background rarely reaches pure white. A marketplace that measures RGB 255, 255, 255 will need a further step after the shoot.
White background product photos
Which iPhone lens should I use for product photos?
Use the 2x lens or longer for product photos, and step back to fill the frame. A close, wide shot distorts an object: the near end looks too large and straight edges bend, which misstates the shape. A longer lens from further back keeps proportions closer to what the eye expects.
Available lenses depend on the model. Apple's camera guide lists 0.5x, 1x, 2.5x, 3x, 4x, 5x and 8x controls, depending on the iPhone, and the iPhone 17 specifications add a 12 MP optical-quality 2x Telephoto at 52 mm. If the model has no 2x option, use 1x from further back and crop.
| Lens | Use it for | Avoid it for |
|---|---|---|
| 0.5x Ultra Wide | Macro details, or a whole room | Whole product shots: it distorts close objects |
| 1x Main | Clothes on a hanger, low light | Very small products, from close |
| 2x | Most products from a table | Tight spaces with no room to step back |
| Longer Telephoto | Bottles, shoes and bags in true proportion | Dim rooms, where hand shake shows |
| Macro | Stitching, engraving and fabric weave | The main image |
How do I photograph small details on an iPhone?
Macro on a supported iPhone focuses as close as 2 centimetres, according to Apple, and the Camera switches to the Ultra Wide lens on its own. If the picture turns blurry, back up or tap .5x. Macro is useful for a label, a seam or a stone setting. Use it for a detail image, never for the main image.
Which iPhone camera settings matter for product photos?
Six iPhone settings matter most: grid, focus and exposure lock, flash, Photographic Style, resolution and file format. Turn them on before the shoot, so that every photo in a set is made the same way.
White backgrounds trip the automatic exposure, which tends to make white look grey. Drag the slider up slightly after focusing, and stop before the product's light areas lose detail. Use a tripod, or rest the phone on books, so that focus stays on the same spot across a series.
| Setting | Where to find it | What to do |
|---|---|---|
| Grid and Level | Settings, Camera | Turn both on to keep the product straight |
| Focus and exposure | Tap the screen, then drag up or down | Tap the product; set exposure by eye |
| AE/AF Lock | Touch and hold the focus area | Lock settings for the whole series |
| Flash | Flash control above the frame | Set to Off |
| Photographic Style | Styles, in the camera modes | Keep the default look: styles change the overall mood |
| Scene Detection | Settings, Camera, on iPhone 12 models | Turn off when colour must stay constant across a set |
| Portrait mode | Camera modes | Avoid for main images: check blur along the product's edges |
| Resolution | Settings, Camera, Formats | Use Resolution Control on supported models for 48 MP |
Should I shoot HEIC or JPG on an iPhone?
HEIC is fine for shooting as long as the file is converted before upload to a channel that does not accept it. Apple says HEIF offers better compression than JPEG, so files use less storage while keeping the same visual quality. Many marketplaces and ad platforms, however, list JPEG and PNG, not HEIC: Google Ads takes JPG or PNG, and Walmart takes JPEG, PNG or BMP.
Two routes avoid problems. To shoot JPEG from the start, open Settings, tap Camera, tap Formats, then tap Most Compatible; new photos then save as JPEG. To keep HEIC, convert the files when needed. Apple notes that sharing or USB transfer can convert a file automatically, and that the Keep Originals option stops conversion on USB import.
Always send the original photo rather than a screenshot or a messaging-app copy, which lowers quality. A 12 MP file is around 4,000 × 3,000 pixels, above the 1,500 × 1,500 Google recommends for product images and the 2,200 × 2,200 Walmart asks for.
Convert HEIC to JPG in the browser
Do I still need a photographer if I have an iPhone?
A photographer is not needed for most marketplace and small-shop images, and is still worth paying for reflective products, campaigns and images that carry a brand. A recent iPhone captures enough detail for zoom. What it lacks is controlled light, and lighting is most of what a studio sells.
Studio prices give a useful comparison. ProductPhoto.com lists on-white images at $40 per photo for 1 to 10 photos, $35 for 11 to 50 and $30 for 51 or more, and lifestyle packages from $375 (read on 31 October 2026). Soona listed $39 per photo on 13 October 2026. For a shop with 20 products and four views of each, that is 80 images at $30, or $2,400, while an iPhone route costs time.
| Job | iPhone alone | iPhone plus AI | Photographer |
|---|---|---|---|
| Marketplace main image | Possible, with a white sweep and an edit | Strong: a cut-out or packshot on white | Strong, at a per-photo fee |
| Clothes on a person | Needs a real model | Possible, from a flat lay or hanger shot | Best for fit and movement |
| Glass, chrome, jewellery | Difficult | Check reflections closely | Best |
| Lifestyle scene | Needs a location | Quick, with a product check | Best for a brand campaign |
| Used or resale item | Best: shows the actual item | Often not allowed | Rarely worth the fee |
Alternatives to a product photoshoot
Where does AI fit after an iPhone shoot?
AI fits after the shoot, as an editing and extension step that depends on a good source photo. A sharp, evenly lit phone photo gives a tool the product's real shape, colour and logos. A blurred photo gives a tool nothing to preserve, so the tool guesses, and upscaling does not restore detail that was never captured.
Four jobs suit AI well: cutting the product out, placing the product on white or in a scene, dressing a model from a flat lay or hanger shot, and producing other formats. Any image generated from the photo needs a check against the real product before publication.
The iPhone has its own AI edits. With Apple Intelligence on an iPhone 15 Pro, iPhone 15 Pro Max or iPhone 16 model or later, Photos can clean up objects, extend a photo beyond its frame and reframe the perspective. In iOS 27.2 or later, Apple says most images created or edited with those tools include a SynthID hidden watermark. Use Reframe with care: a changed viewpoint can alter a product's apparent shape.
From phone photo to product photo
How do I photograph each product category on an iPhone?
Each product category has one main problem that the shoot has to solve. The Herofab shooting guides below cover each category in detail, with the order of shots.
Clothes
Photograph one garment from the front, straight on, whole in the frame, on a hanger against a wall or laid flat on a bed. Add the back as a separate photo if it carries a print.
How to photograph clothes for AI
Knitwear
Knitwear is bought by feel, so the photo has to show the stitch and the yarn's weight. Side light brings out texture that front light flattens.
Shoes
A shoe is recognised from the side and judged from underneath. Photograph the profile, then the outsole, the heel and the lining, with a phone on the floor beside a window.
How to photograph shoes to sell
Bags
A bag photographs as whatever shape it happens to be in. Stuff it and stand it up before the phone comes out, and keep straps untangled.
How to photograph a bag to sell
Jewellery and accessories
Small, shiny items need soft light on a plain surface, with the piece alone, whole and sharp in the frame.
How to photograph jewelry and accessories
Sunglasses and glasses
Lenses act as two small mirrors. Plan what faces them, including the window, the ceiling lamp and the phone itself.
How to photograph sunglasses and glasses
Watches
The crystal returns the room and the dial carries small text. Control reflections before the shot, then show the face, the profile, the strap and the back.
How to photograph a watch to sell
Cosmetics and beauty products
Buyers read the words on the pack and judge the colour inside, so keep labels sharp and shades accurate.
How to photograph cosmetics and beauty products
Checklist
- Soft side light from a window, with room lights and flash off.
- Plain backdrop with clear space behind the product.
- 2x lens or longer, from further back.
- Grid and Level on; AE/AF Lock set for the series.
- Whole item in frame, then the back and close-ups.
- Original files kept; HEIC converted only where the channel needs it.
- Colour compared with the real product on the phone and on a monitor.
Sources
- Apple Support — Use iPhone camera tools
- Apple Support — iPhone camera basics
- Apple Support — Take macro photos and videos
- Apple Support — Use Photographic Styles
- Apple Support — Change advanced camera settings
- Apple Support — Using HEIF or HEVC media on Apple devices
- Apple Support — Clean up, extend and reframe photos
- Apple Support — iPhone 17 tech specs
- Wikipedia — Perspective distortion
- Google Merchant Center Help — Image link
- Google Advertising Policies Help — Image assets format requirements
- ProductPhoto — Product photography services and pricing
Checked 31 October 2026. Rules change; the official pages are the final reference.