1. Clean, lace and fill the shoe first
Preparation shows more than the camera does. Brush dust off the upper and out of the welt, wipe the edge of the outsole and straighten the tongue. Thread the laces through every eyelet at an even tension, tie them or tuck the ends inside, and make the left shoe match the right.
An empty shoe sags across the vamp and the toe box, and the photo records that sag as its shape. Crumpled paper or a shoe tree pushed into the toe restores the line; a tall boot needs rolled card in the shaft to stand straight. On a used pair, clean without disguising: polish laid over a scuff misleads a buyer who will later hold the real shoe.
2. The outer side, with the lens at shoe height
The main photo is the lateral profile: the outer side of one shoe, with the toe pointing the same way in every listing of a shop. Lower the phone until the lens is level with the collar. From there the heel height, the pitch of the sole and the curve of the toe keep their true proportions; seen from standing height, the same shoe looks short and flat.
Stand back and zoom in a little instead of holding the phone close, because a wide lens near the toe enlarges it against the heel. Leave clear space all round, including under the outsole. A plain floor against a plain wall works, and so does a large sheet of paper curved up behind the shoe, which removes the line where floor and wall meet.
3. The pair, then the back, the top and the sole
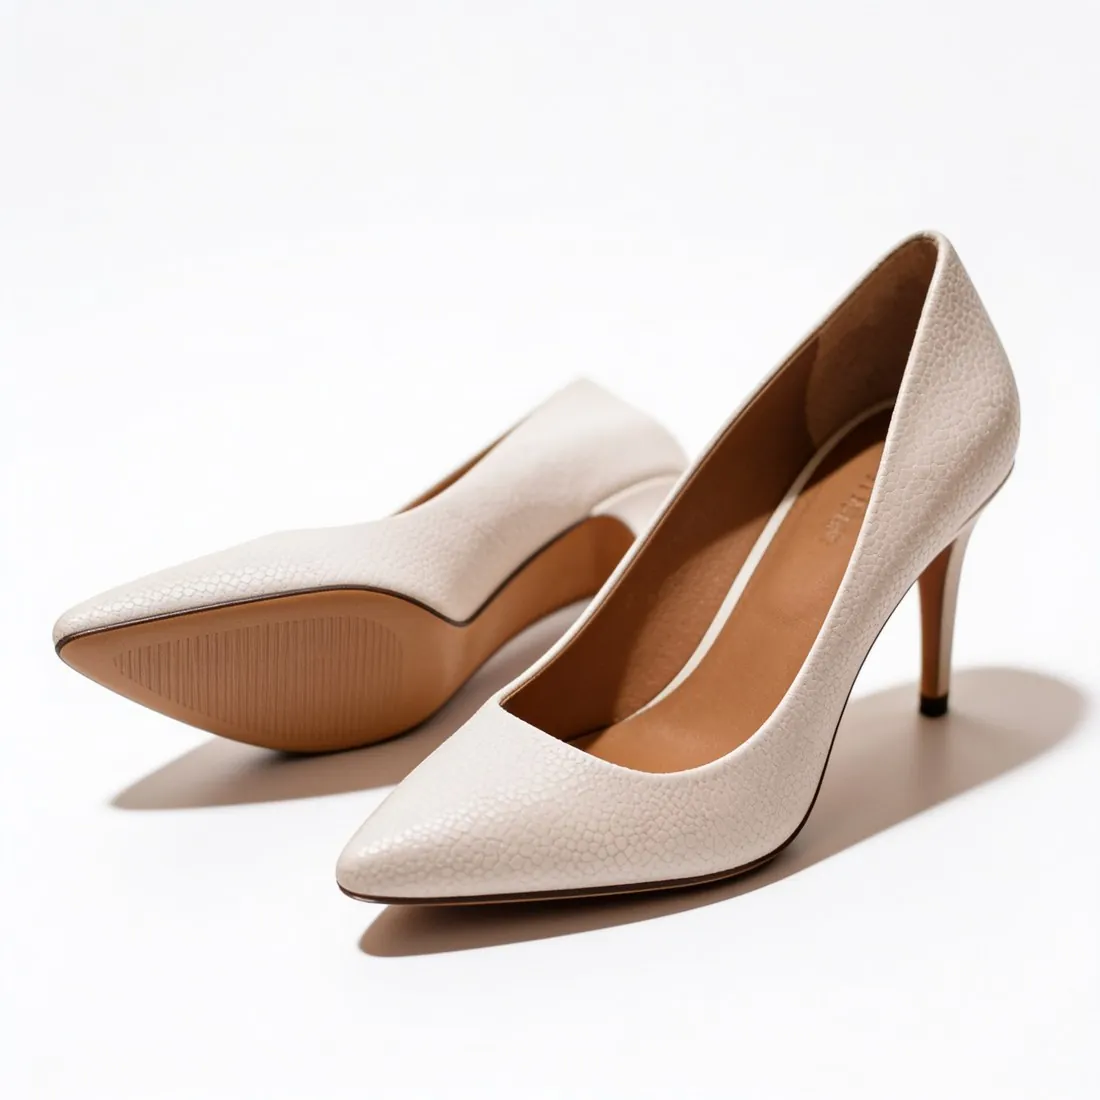
A second photo shows both shoes. A common arrangement keeps one in profile and turns the other toward the camera by about a third, so the toe shape and the lacing sit next to the side view. Keep a gap between the two: where one shoe covers the other, that part of the pair is missing from the record.
Then work round the shoe. From behind, at the same low height, the two heel counters show whether the pair stands upright or leans. From above, the photo takes in the toe box, the eyelets and the insole. Last, turn the shoes over for the outsole. Give each view its own photo, since a collage shrinks all of them.
4. Leather, patent, suede and mesh
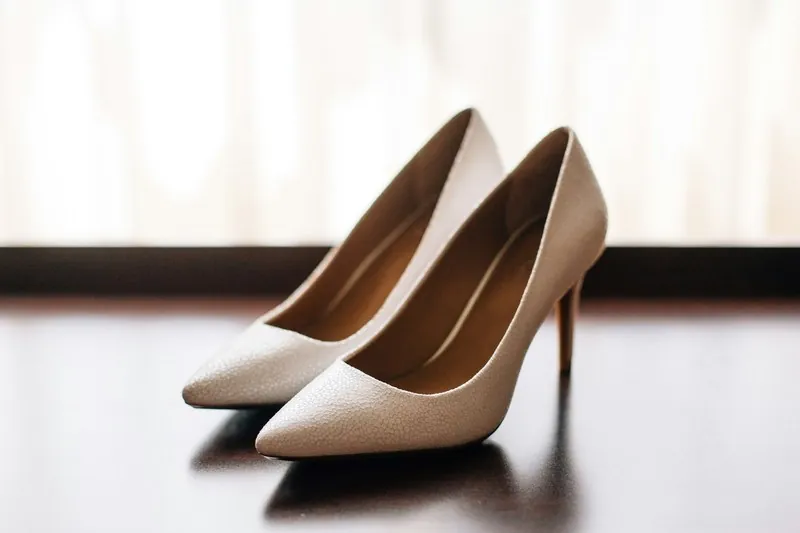
Each upper asks for different light. Smooth and patent leather return the window as a white streak along the vamp. Move the shoe further from the window, or hang a thin white curtain across it, until the streak widens into a soft sheen with the grain still visible. Leave the flash off; it burns a hard spot onto the toe and throws a black shadow behind the heel.
Suede and nubuck behave the opposite way: frontal light turns them into one even patch of colour, while light that skims the surface from one side draws out the nap. Brush the nap in one direction first, because a hand mark photographs as a stain. Knit and mesh need accurate focus above all, so tap the screen on the upper and inspect the weave at full zoom. White trainers lose their outline on a white sheet and stand out on mid-grey; black shoes need the exposure raised until the stitching appears.
5. Wear, shown plainly
In resale, condition is the product. Hold the outsole flat to the camera so the depth of the tread and the worn patches under the heel and the ball of the foot can be read. Add close-ups of the creases across the vamp, the tip of the toe, the heel lining where the foot rubs, the edge of the midsole, and any scuff, loose stitch or lifting sole.
Take these in the same light as the main photo, and leave the colour unedited: a filter that warms the leather also hides yellowing on a white midsole. A flaw that is pictured and named in the description is a known part of the sale. If spare laces, a dust bag or the original box are included, one photo of everything together settles what the buyer receives.
6. Size label, insole and file
The size label answers questions before they are asked. It sits under the tongue, on the collar lining or on the insole, usually with the size in more than one system and a style code. Turn the opening toward the window, hold the tongue back and tap to focus on the print; if the characters blur, move the phone away until they sharpen. Photograph the insole from above as well, for its logo and its wear.
Use each photo as the phone saved it. Screenshots and copies passed through a chat app are smaller than they look, and tread pattern and stitching are the first things to dissolve. HEIC files can be turned into JPG with the free converter.
Checklist
- Clean upper, even laces, toe filled with paper
- Outer profile, lens level with the shoe
- The pair with a gap, then back and top views
- Soft light for leather, side light for suede
- Outsole, heel lining and every flaw in close-up
- Size label and insole, files as the phone saved them
Updated 12 October 2026