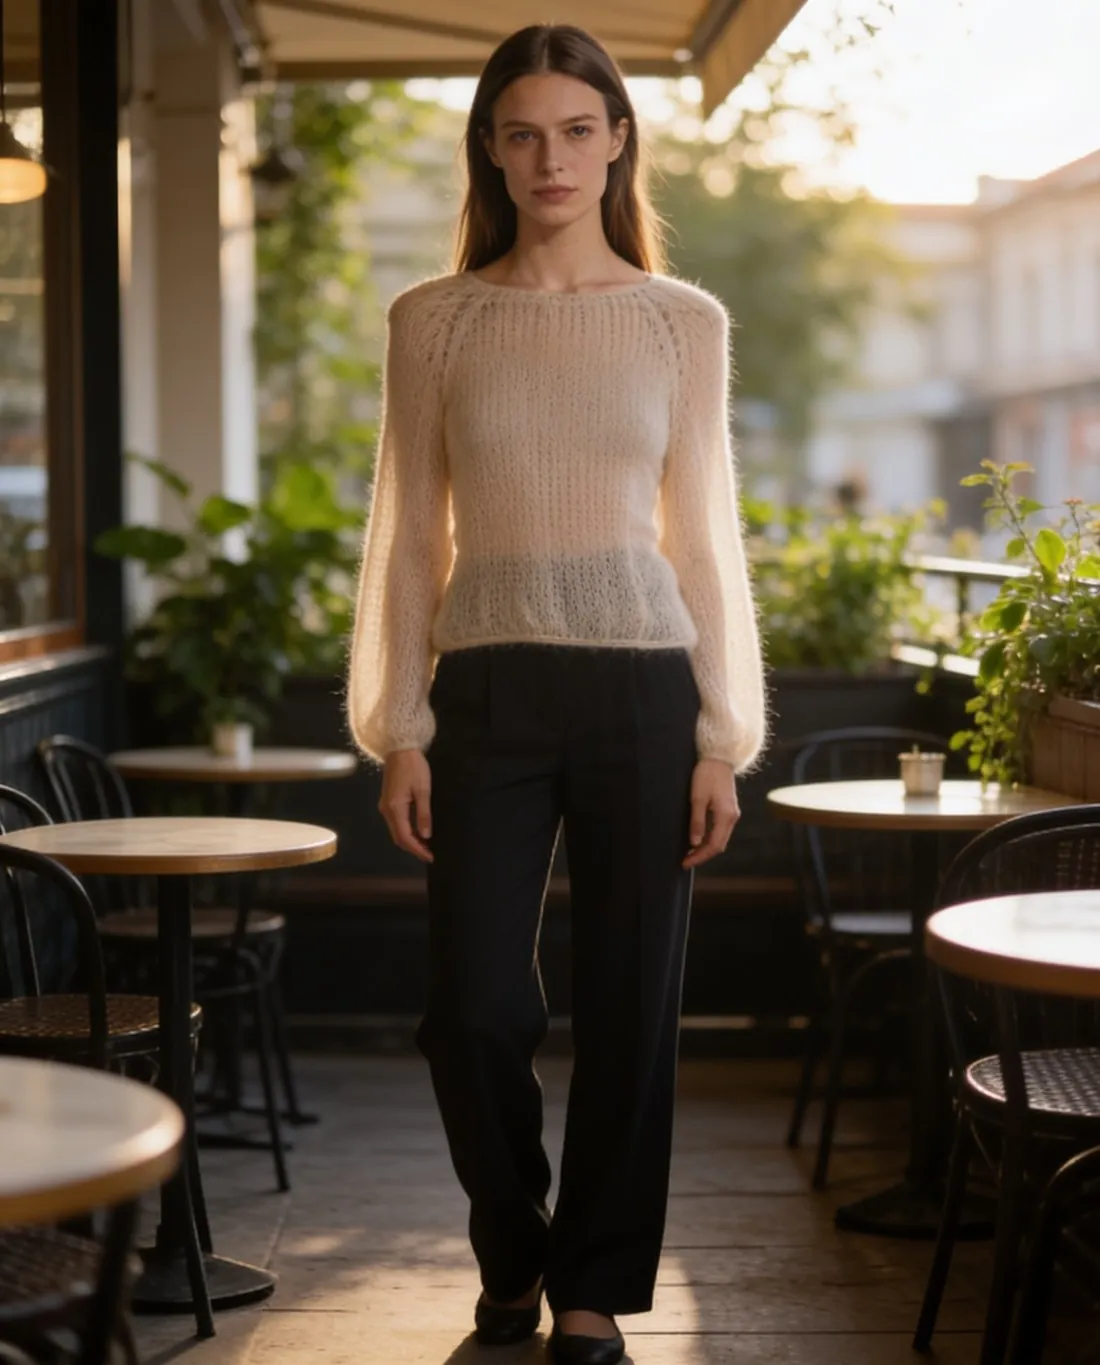
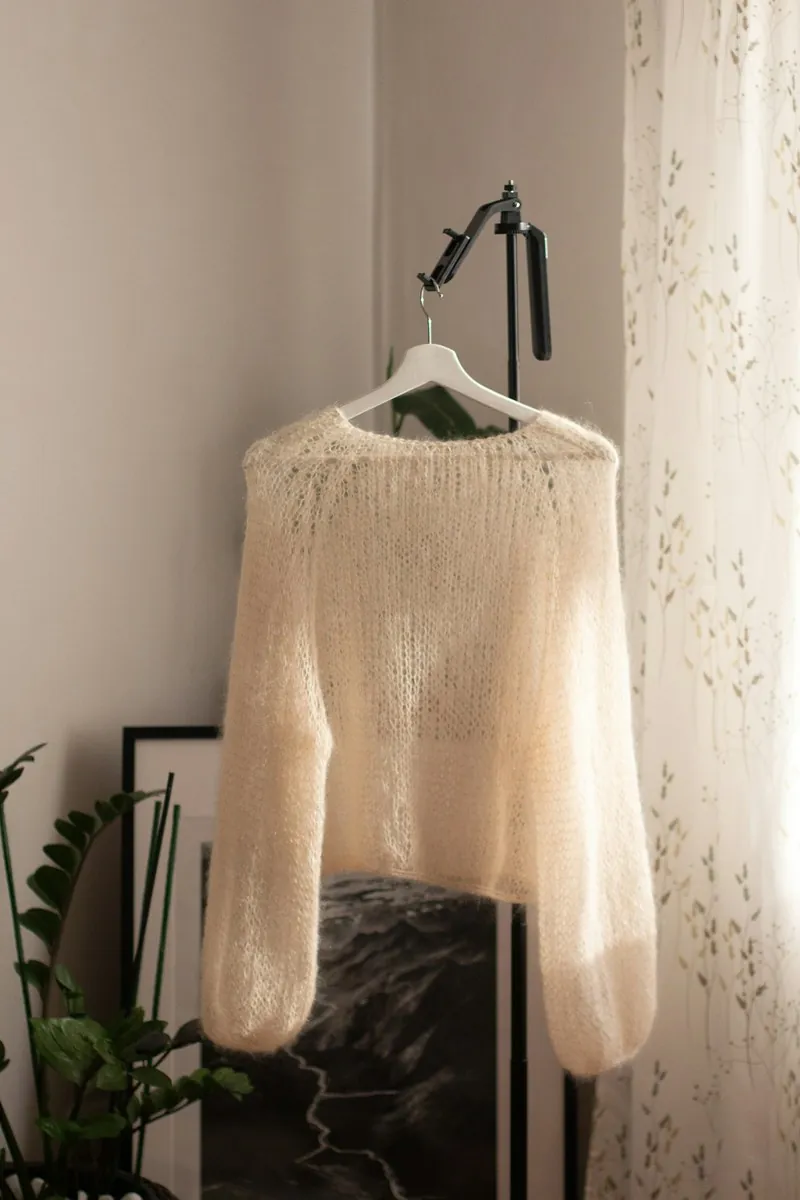
What is the quickest way to put clothes on an AI model?
The quickest way to put clothes on an AI model is a virtual try-on tool, which takes a photo of the garment and a person image and generates that person wearing the garment. Google Cloud's Virtual Try-On documentation describes the same two inputs: an image of a person and an image of a clothing product. Seller tools wrap those inputs in a form with model, pose, background and format settings.
A general image generator such as ChatGPT or Gemini can attempt the job from a prompt and two uploads, without catalogue settings or a check of the result. An open-source model gives full control at the price of hardware and licence limits. A real shoot remains the reference for fit. Prices change, so the table dates each one.
| Route | What you supply | Cost basis | Main limit |
|---|---|---|---|
| Dedicated try-on tool | Garment photo and a ready-made, generated or own model | About $0.10 to $0.92 per on-model image on entry plans at FASHN, Claid, Photta, Modelia and Botika, stated or derived from their sites, checked 9 October 2026. Herofab: $0.20 to $0.60 | Every image still needs a check against the garment |
| General image generator | Garment photo, person image and a written prompt | Free tiers with limits, paid subscriptions above them | No catalogue settings, and the garment can be redrawn |
| Developer API | Person image, product image and code | Billed by the cloud provider | Needs engineering. Google's Virtual Try-On returns 1 to 4 images per request (documentation updated 26 October 2026) |
| Open-source model | Model weights, your own GPU and set-up time | No download fee, but hardware costs apply | IDM-VTON is licensed CC BY-NC-SA 4.0, a non-commercial licence |
| Real model shoot | Model, photographer, studio and styling | Quoted per day or per image; see the fashion photoshoot cost guide | Higher cost per image and a longer lead time |
Virtual try-on: tools, settings and cost
Which photo of the clothes works best for an AI model?
A photo of one garment, whole, unfolded and shot straight on works best for an AI model, whether the garment is laid flat, on a hanger or on a mannequin. Completeness matters more than the surface: a part hidden in a fold or cut off by the frame cannot be added back faithfully. The shooting routine is in the guide on photographing clothes for AI.
| Input | What it gives | What it hides | Fix |
|---|---|---|---|
| Flat lay | The whole outline, print placement, and sleeves and hem under control | Drape and volume, because the fabric has no body in it | Compare length, sleeve fullness and the fall of the hem with the garment held up |
| Hanger | Fabric falling under its own weight, and the true length | Sagging shoulders, stretched knitwear, and sleeves lying over side seams | Use a hanger as wide as the shoulders and pull the sleeves slightly outwards |
| Mannequin or dress form | Filled shoulders, a closed front and the real hem length | Pins and clips at the back, which pull the fabric and change the outline | Unpin where possible and let the sleeves hang free |
| Ghost mannequin image | The garment alone in its worn shape | Any change the ghost mannequin edit introduced, which carries forward | Upload the original hanger or flat-lay photo if you have it |
| Worn photo | Real drape on a real body | Parts of the garment covered by arms, hair or the pose | Keep the whole garment in view and hold permission for the person shown |
Which inputs does Herofab accept?
Herofab's published source list names flat lays, hangers, mannequins and worn photos, and a mannequin does not have to be edited out before upload. Ghost mannequin images are not on that list, so the original photo is the safer upload. A photo that shows only the back, or a product still in its packaging, is flagged before a credit is spent.
How do I turn a flat lay into a model photo?
A flat lay becomes a model photo when a try-on tool reads the outline and print of the garment and draws them on a person. Spread the garment front side up on a plain, contrasting surface, keep the sleeves slightly away from the body, and hold the phone level above its centre. A tilted phone makes the hem look narrower than the shoulders.
How do I turn a hanger photo into a model photo?
A hanger photo becomes a model photo when the garment hangs alone against a plain door or wall, with the top button or zip closed and the whole piece in frame from hook to hem. On a full clothes rail, neighbouring pieces lie over the sleeves and sides, so move the garment to a free hook first.
How do I turn a mannequin photo into a model photo?
A mannequin photo becomes a model photo when the garment is fully dressed on the form and photographed from directly in front at chest height. Close the buttons and zips, straighten the collar and use a plain wall behind the form. A window behind the mannequin turns the garment into a silhouette and hides the fabric.
Can AI show the back of a garment on a model?
AI can show the back of a garment faithfully only from a photo of the back; without that photo, the seams, labels and prints in a back view are invented. A back view made from a front photo alone is a guess at what the garment looks like behind.
Photograph the back the way the front was photographed: the same hanger or surface, the same distance and light, and the whole garment from collar to hem. Then compare every print, logo and line of lettering with the garment, because a graphic on the wrong side is the most visible back-view error.
In Herofab's Virtual try-on, a back view is made only when a back photo has been uploaded. In a front and back set, the back image starts from the delivered front image and is briefed to show the same person, clothes, backdrop and light; the set counts as two images. A separate option places front and back side by side in one image without a back photo, and its back half needs the closer look. Back views are not used for shoes, glasses or jewelry.
Can I put clothes on an AI model for free?
Yes, clothes can be put on an AI model for free, but every free route carries a limit: a watermark, an unstated allowance, a non-commercial licence or the cost of your own hardware. Free routes suit a test of the method better than a live listing.
| Free route | What you get | Limit |
|---|---|---|
| Vendor sign-up credits | Herofab gives 20 credits with no card, enough for 4 Virtual try-on images at 5 credits each | Images made with free credits carry a watermark |
| Gemini free plan | Image generation with Nano Banana 2 is available without a plan (checked 31 October 2026) | Google states no fixed image allowance and says limits may change without notice |
| Open-source IDM-VTON | Public code and checkpoints for virtual try-on | CC BY-NC-SA 4.0 is a non-commercial licence, and a GPU is needed to run it yourself |
Can a watermarked free image be used in a listing?
A watermarked image rules out many sales channels: Zalando's image guidelines, for example, do not allow on-image watermarks. Before a free result goes live, read the tool's commercial terms as well as its image limits. Google's visible-watermark setting does not affect SynthID or Content Credentials, which stay in Gemini images.
Compare free AI product photo generators
What goes wrong when AI puts clothes on a model?
The most common failure when AI puts clothes on a model is an invented detail: a print, label, pocket or seam the garment does not have. Herofab's automated check read 303 generated product images between 24 September and 12 October 2026 and flagged 20.8% of them, with invented detail in 9.6%. In the product, a flagged image is not delivered. The check covered images made between 24 September and 12 October 2026, before Herofab's late-October image engine change.
| Fault | Share of 303 images | What to look for |
|---|---|---|
| Invented detail | 9.6% | A print, logo, label, pocket or trim missing from the source photo |
| Unnatural look | 5.6% | Plastic or glassy surfaces, a visible mannequin, an edit seam |
| Different product | 4.0% | A garment that is not the one photographed |
| Collar or neckline changed | 3.6% | A shirt collar turned into a crew neck, or a hood that was never there |
| Inside label showing | 3.3% | A neck or waistband label drawn on the outside |
Which garments are hardest to put on an AI model?
Trousers and other bottoms were the hardest garments in Herofab's check: 8 of 11 images flagged, a small sample, almost always for an invented detail or an inside label drawn on the outside. Tops had 12 of 58 flagged. Virtual try-on as a whole had 26 of 115 flagged, or 22.6%. The figures come from one system, so they show what to check, not an industry rate.
Why does AI change the text and logos on clothes?
AI changes text and logos on clothes because the lettering is redrawn with the rest of the image. Of 90 images in Herofab's check with readable text on the product, 53 matched, 32 showed small differences and 5 were wrong. OpenAI's image generation guide says its model can still struggle with precise text placement and clarity. Read all lettering at full size, and add a close-up to the upload for small logos.
What does an automated check miss?
An automated check misses cropping. Of 19 scene images checked by eye, 9 cut off part of the product, and the automated check accepted all 9. A person should confirm that the sleeves, hem and sides of the garment are inside the frame.
When is an AI model the wrong way to show clothes?
An AI model is the wrong choice when the image has to prove something a generated picture cannot: real fit, real condition, real movement or a real person.
Fit is the first limit. A size setting changes how the fit is drawn and measures nothing, so an AI image shows the style and not how the garment sits on a real body. Tailoring, shapewear and technical sportswear still need measurements and, where fit is the selling point, real fit photos.
Resale is the second. A listing for one used garment has to show that garment and its wear, and a generated image cannot do so. The third is any product nobody has photographed: an AI image of an unfinished sample shows a guess, not the item that ships.
Children's clothing needs separate treatment, and the wider cautions are in the guide on creating an AI model for a clothing brand. A hero campaign built on a recognisable face still needs a contracted person. Where a person adds nothing to the listing, a ghost mannequin image or a packshot shows the garment with less generated content.
Checklist
- One garment in the source photo: whole, unfolded and straight on
- A separate back photo before any back view is ordered
- A close-up added for small lettering, labels or logos
- Print, logos, buttons, pockets, collar and length compared with the garment at full size
- No inside label on the outside, and no invented pocket or seam
- Whole garment inside the frame, confirmed by a person
- AI marker left in the delivered file
Sources
- Google Cloud — Virtual Try-On documentation
- IDM-VTON — repository and licence
- Google — Gemini Apps limits
- Google — Manage watermark settings in Gemini Apps
- OpenAI — Image generation guide
- Zalando Partner University — Image guidelines
Checked 31 October 2026. Rules change; the official pages are the final reference.