Flat-lay clothing photos, laid out straight and even.
A flat lay shows a garment as a shape on a surface: spread evenly, straight and symmetrical, seen from directly above. It is the second style of Herofab's ghost mannequin tool, next to the 3D hollow-body shape, and it is made from a hanger or flat-lay photo on a white, grey, black or beige backdrop.
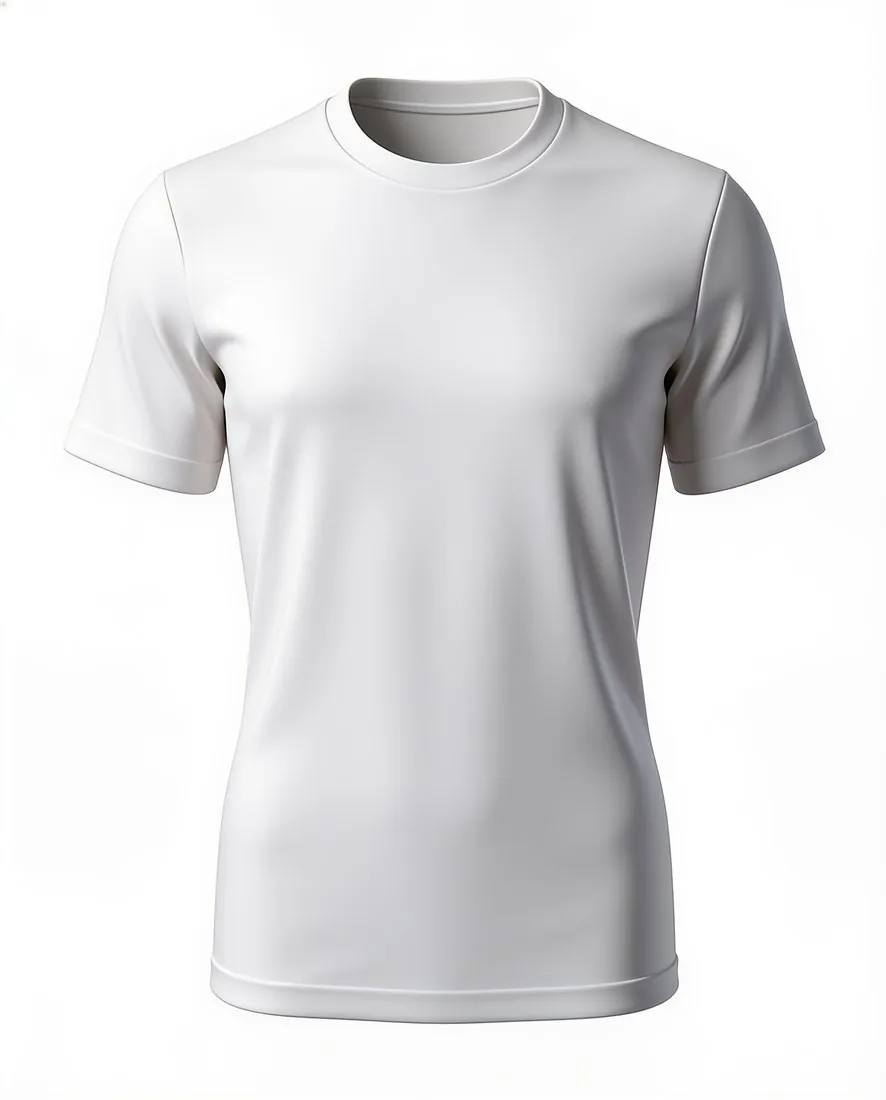
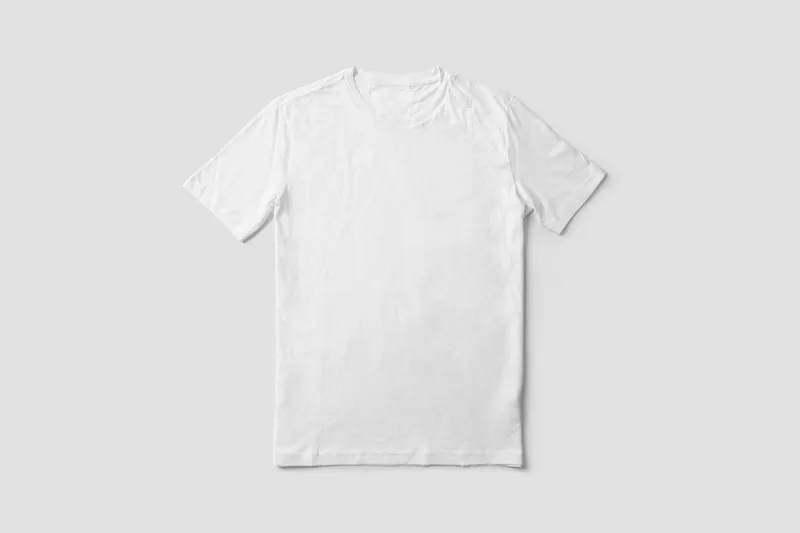
When a flat lay serves a garment better.
- 1
Knitwear and T-shirts
A hollow 3D shape gives a garment a chest and shoulders, and some pieces read more plainly without them. A chunky knit shows its stitch, its rib and its true proportions lying flat, and a T-shirt presents its print squarely with nothing curving it. For soft, unstructured garments the flat lay is often the simpler statement.
- 2
Sets as separate images
A two-piece set becomes one image per garment, since each source photo should hold a single item with nothing lying across it. Flat lays in one view and on one backdrop then sit in a gallery as a pair: top and trousers, cardigan and skirt, each with its full outline.
- 3
Smoothing, symmetry and what to check
The flat-lay brief includes laying the garment out evenly and smoothing its creases, while fabric, colour, print and trims are briefed to stay. Check that the tidying stopped there: sleeves equal in length, pleats, gathers and any deliberate crinkle still present, the hem as wide as on the garment, drawcords and labels where they belong.
The source photo for a flat lay.
- A hanger photo is as valid a source as a flat one: the flat-lay style lays the garment out, so the camera does not have to be held overhead.
- Keep both sleeves, the collar and the whole hem inside the frame and uncovered; a part tucked under or cut off cannot be added back faithfully.
- Shake out hard fold lines left by packaging before the photo where they are not part of the garment, and leave pleats and intended texture alone.
Flat-lay clothing photography, answered.
Do I have to photograph the garment from directly above?
No. The source can be a garment on a hanger, or laid on a bed, a table or a sofa, taken with a phone and shot straight on. The flat-lay style then delivers the garment laid out evenly and symmetrically, as seen from above. What the source has to provide is the whole front, unfolded and with nothing in front of it.
When should I choose flat lay over the 3D hollow-body shape?
Choose the flat lay when the surface of the garment matters more than its volume: knitwear, T-shirts, sweatshirts, very soft pieces, and garments shown as parts of a set. Choose the 3D shape when structure sells the piece, such as a blazer with built shoulders or a dress with a defined waist. The style is selected when the image is ordered.
Will the flat lay remove creases that belong to the fabric?
Smoothing creases is part of the flat-lay brief, while the fabric itself is briefed to stay as photographed. Texture that belongs to the cloth, such as crinkle, plissé, seersucker or a garment-washed finish, lies between those two instructions and is the thing to check. Compare the surface of the result with the garment, and add a detail close-up at upload when the texture is fine.
How much does it cost?
4 credits per image, plus one credit for 4K. The cost is shown before you generate, and if a job fails the credits are returned. The 20 free credits at sign-up cover 5 images with this tool.
Your next collection, shot this week.
20 credits at sign-up, no card required. Images made with free credits carry a watermark.