Bag details, where leather meets metal.
The price of a bag is explained by its small parts: a zip pull, a magnetic snap, the painted edge of a strap, the stitches that hold a handle. Herofab frames one of them close up from a product photo or a delivered image, and is briefed to keep it as it appears in the source.
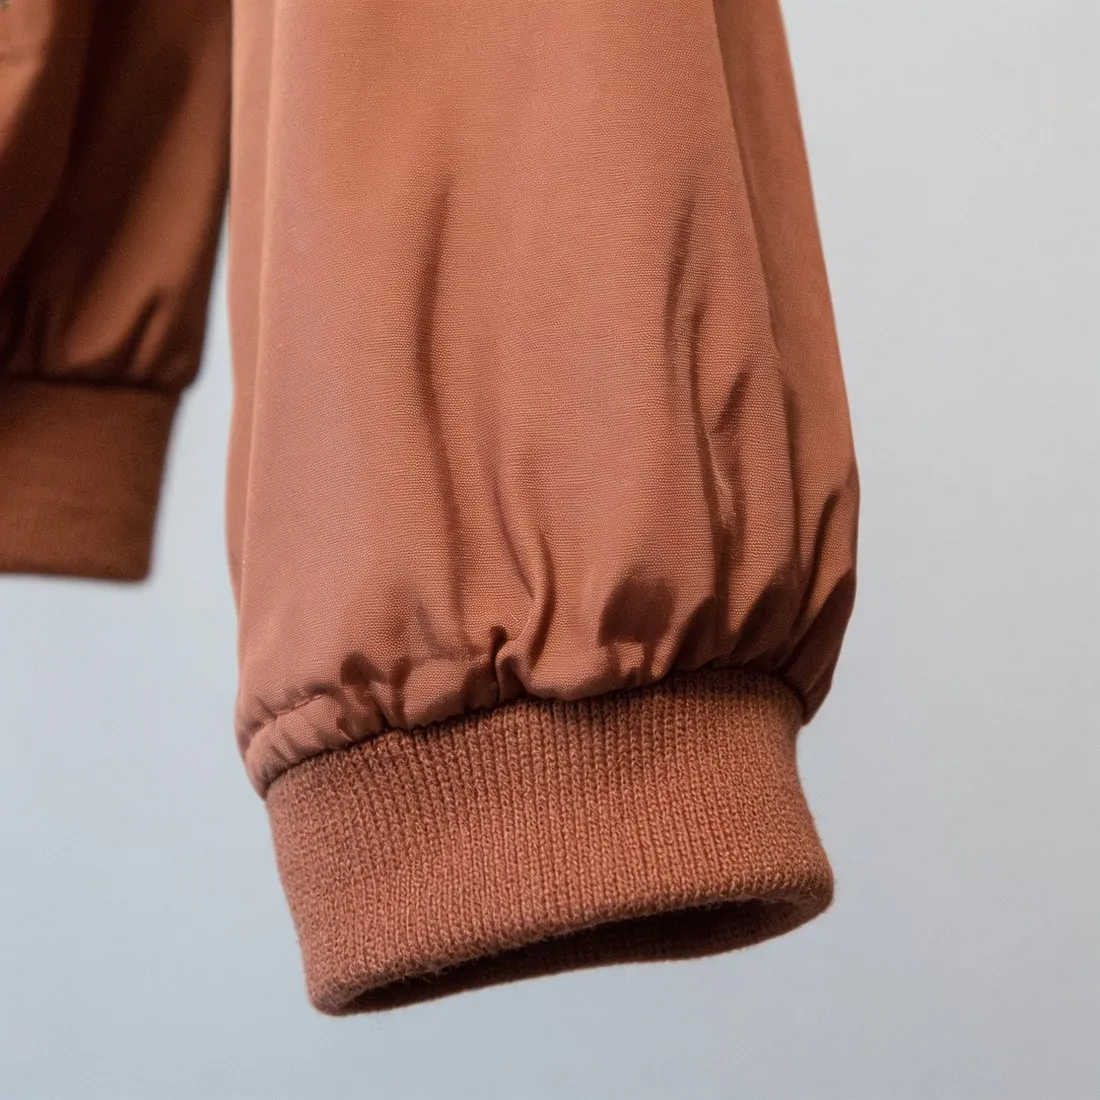
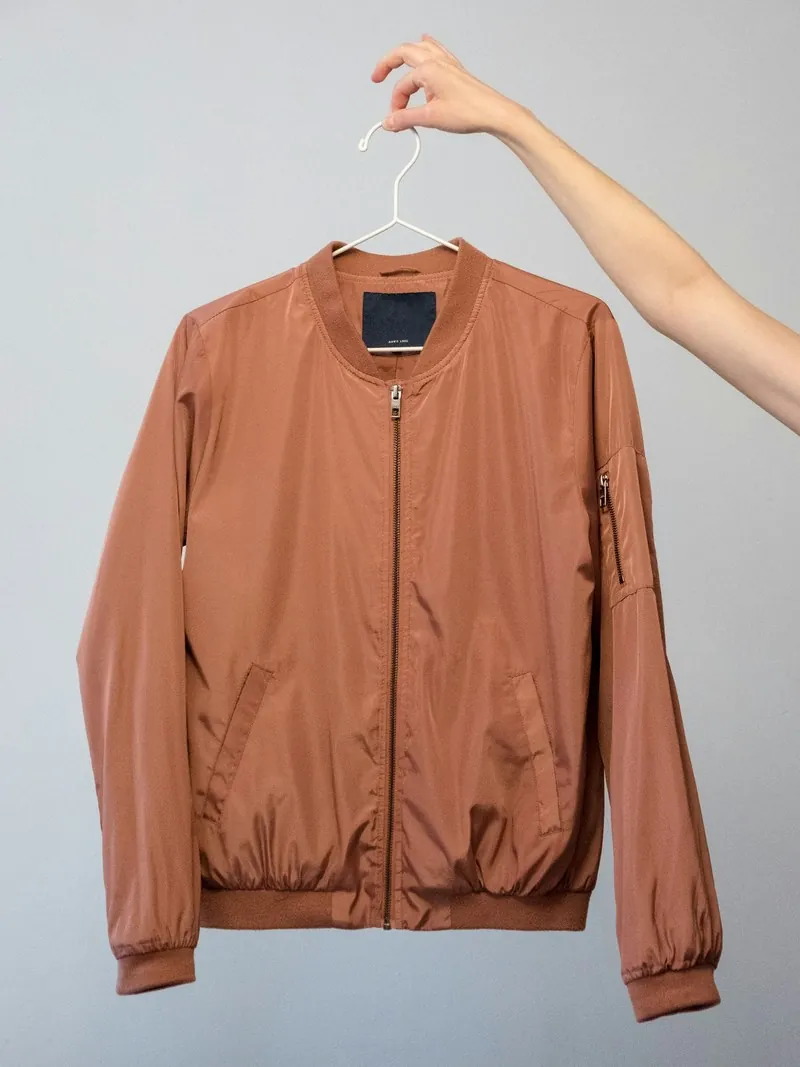
What buyers look for on a bag up close.
- 1
Zip pulls, snaps and buckles
Closure or hardware is the entry for the parts that open and fasten a bag: the zip and its pull, a magnetic snap, a turn lock, a buckle on the strap, the feet under the base. Lettering engraved on a pull or a lock plate is the detail to read first. Count the feet and the buckle holes, and compare the metal tone with the bag.
- 2
Handle attachment and edge paint
Where a handle joins the body there is a tab, a ring or a rivet and a short run of dense stitching. The edges of straps and flaps are sealed with paint in a colour of their own. Choose stitching to show them, then follow the stitch line round the tab and look along the painted edge for a break or a colour the bag does not have.
- 3
Lining and inside pockets
A lining, a zipped inner pocket or a stamped leather patch appears in a close-up only if it was photographed. A bag shot closed from the front holds no record of its inside. For an interior detail, use a source taken from above through the open top, with the lining pulled smooth and lit so the inside is not left in the dark.
The bag photo behind a hardware close-up.
- Fasten buckles and snaps, slide the zip pull to where it should sit and lift strap ends, tassels and tags away from the hardware they would cover.
- Angle the bag so the lock, the pull or the handle tab faces the camera, and keep lamps and flash off the metal so engraving is not lost in glare.
- Fill a soft bag before the photo; leather that sags into folds hides stitch lines and bends the painted edge out of view.
Detail shots for bags, answered.
Which entry do I choose for the feet or the base of a bag?
Closure or hardware covers metal parts, the feet included. The source has to show them, and a bag standing upright and photographed from the front hides its base. Lay the bag on its back or tilt it until the underside faces the lens, and use that photo. Left on automatic, the close-up goes to the most distinctive detail, usually on the front.
Will a quilted, woven or embossed surface show in a close-up?
Fabric texture is the entry for the surface of the bag, whether that is pebbled grain, a quilted diamond, a woven strip or an embossed pattern. The surface is briefed to stay as in the source. Compare the scale of the grain and the spacing of the quilting lines with the bag, and light the source from the side so the relief is visible.
Can one bag photo be the source for several close-ups?
Yes. Each close-up shows one detail chosen from the list, so the same photo can be used again for the lock, the handle attachment and the stitching, as long as every one of those parts is sharp and uncovered in it. A front photo serves the front hardware; the base, the back pocket and the inside each need a photo of their own.
How much does it cost?
3 credits per image, plus one credit for 4K. The cost is shown before you generate, and if a job fails the credits are returned. The 20 free credits at sign-up cover 6 images with this tool.
Your next collection, shot this week.
20 credits at sign-up, no card required. Images made with free credits carry a watermark.