Shirt details, collar and cuff first.
A shirt that looks plain at full length is told apart by its collar, its placket and its cuffs. Herofab takes a product photo or a delivered image and frames the collar or neckline, or a cuff or sleeve, as a close-up, briefed to keep the points, the buttons and the pattern of the cloth.
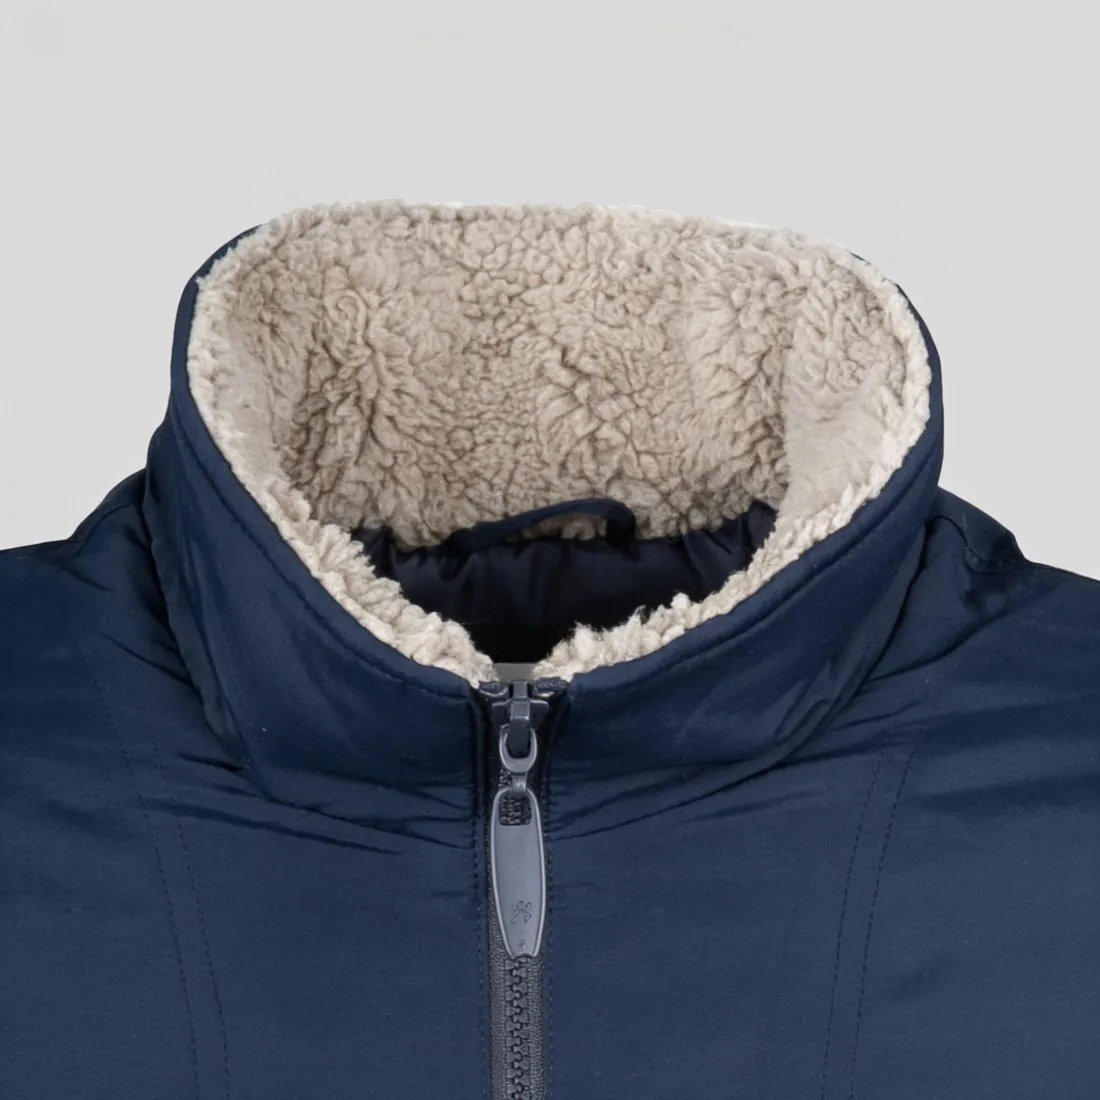
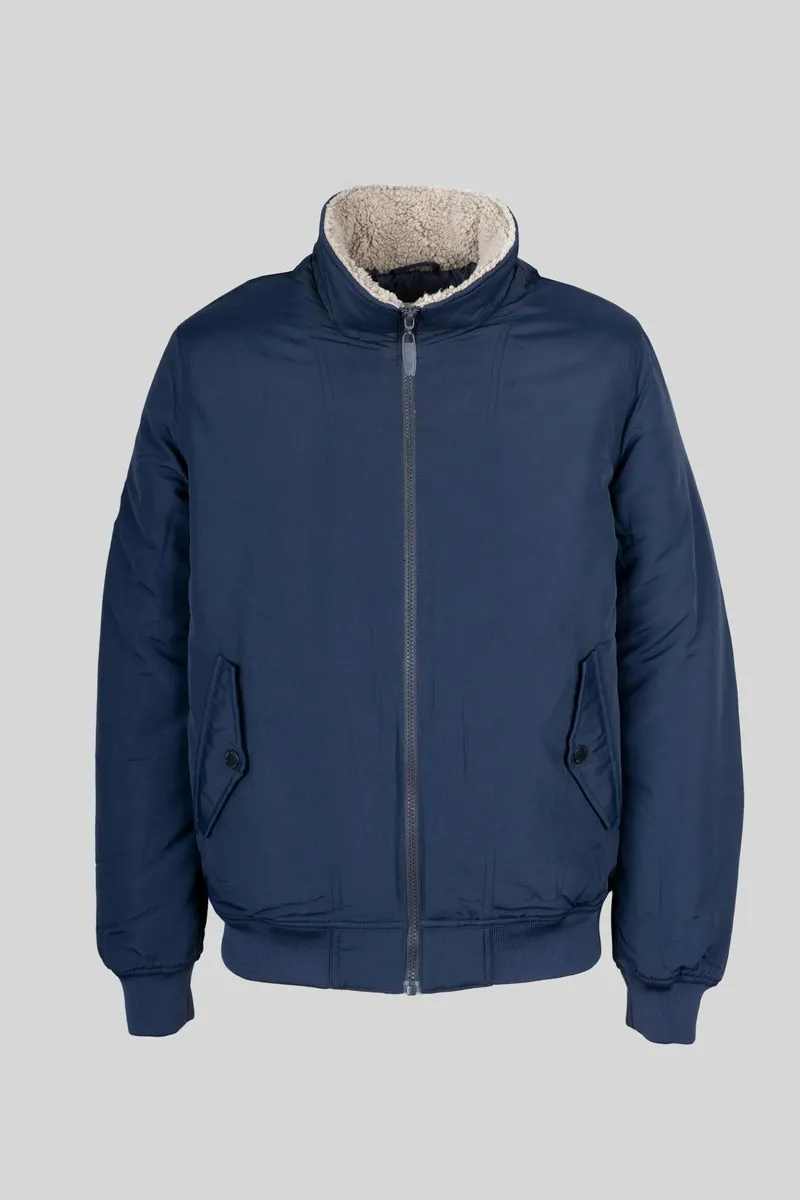
What a shirt close-up must hold in line.
- 1
Collar points, stand and placket
A spread, a button-down, a band or a camp collar each has its own point length and its own stand. The collar or neckline entry frames it together with the top of the placket. Compare the shape of the points and the roll of the collar with the shirt, and count the buttons that fall inside the frame, top button and collar buttons included.
- 2
Cuff buttons and the gauntlet
The cuff or sleeve entry shows a barrel cuff with its buttons, a double cuff folded back for links, or a short sleeve with its turn-up. Above the cuff sits the gauntlet, the slit that opens the sleeve, often with its own small button. Check the cuff buttons, the buttonholes beside them and the pleats where the sleeve meets the cuff.
- 3
Stripes and checks at the seams
On a striped or checked shirt the pattern is cut to meet at the placket, to run across the yoke and to turn at the cuff. A close-up puts those meetings in the centre of the image. Follow each stripe across the seam in the result and compare it with the shirt: the stripe width, the order of colours and the place where the lines join.
Preparing a shirt for a collar or cuff close-up.
- Iron the collar and the cuffs, button the shirt to the top or leave it open as it should appear, and set both collar points evenly before the photo.
- Lay one sleeve out flat with the cuff buttoned and its face to the camera; a cuff folded under the body of the shirt is missing from the source.
- Photograph in even light without hard shadow under the collar, and near enough that the weave, the buttonholes and the button thread can be made out.
Detail shots for shirts, answered.
Can the close-up show the collar open or closed?
It shows the collar as the source has it. The detail shot frames what is in the image and is briefed to keep it, so a shirt photographed buttoned to the neck gives a closed collar and one photographed with the top button undone gives an open one. For both versions, take two photos and use each as a source.
Do fine stripes or small checks come through in a detail shot?
The pattern is briefed to stay as in the source, and fine regular patterns are where a careful look is due. Hairline stripes and micro checks can shimmer or close up when the photo is small or slightly out of focus. Use a sharp source taken from near, then compare the stripe width and the colour order with the shirt before publishing.
Which source suits a shirt detail: flat lay, hanger or model?
Any of them, provided the part is visible and sharp. A flat lay lets the collar and one cuff be arranged squarely. A hanger shows the collar well and usually hides the cuffs in the hanging sleeves. A delivered try-on image shows the collar as worn; see that hair or a hand does not cross the part chosen.
How much does it cost?
3 credits per image, plus one credit for 4K. The cost is shown before you generate, and if a job fails the credits are returned. The 20 free credits at sign-up cover 6 images with this tool.
Your next collection, shot this week.
20 credits at sign-up, no card required. Images made with free credits carry a watermark.