Caps on a model's head, seen from the front panel.
A cap is built from a few fixed parts: crown panels, a peak, an eyelet in each panel and a closure at the back. Herofab places the cap on a studio model's head and is briefed to keep those parts, together with the logo or embroidery on the front.
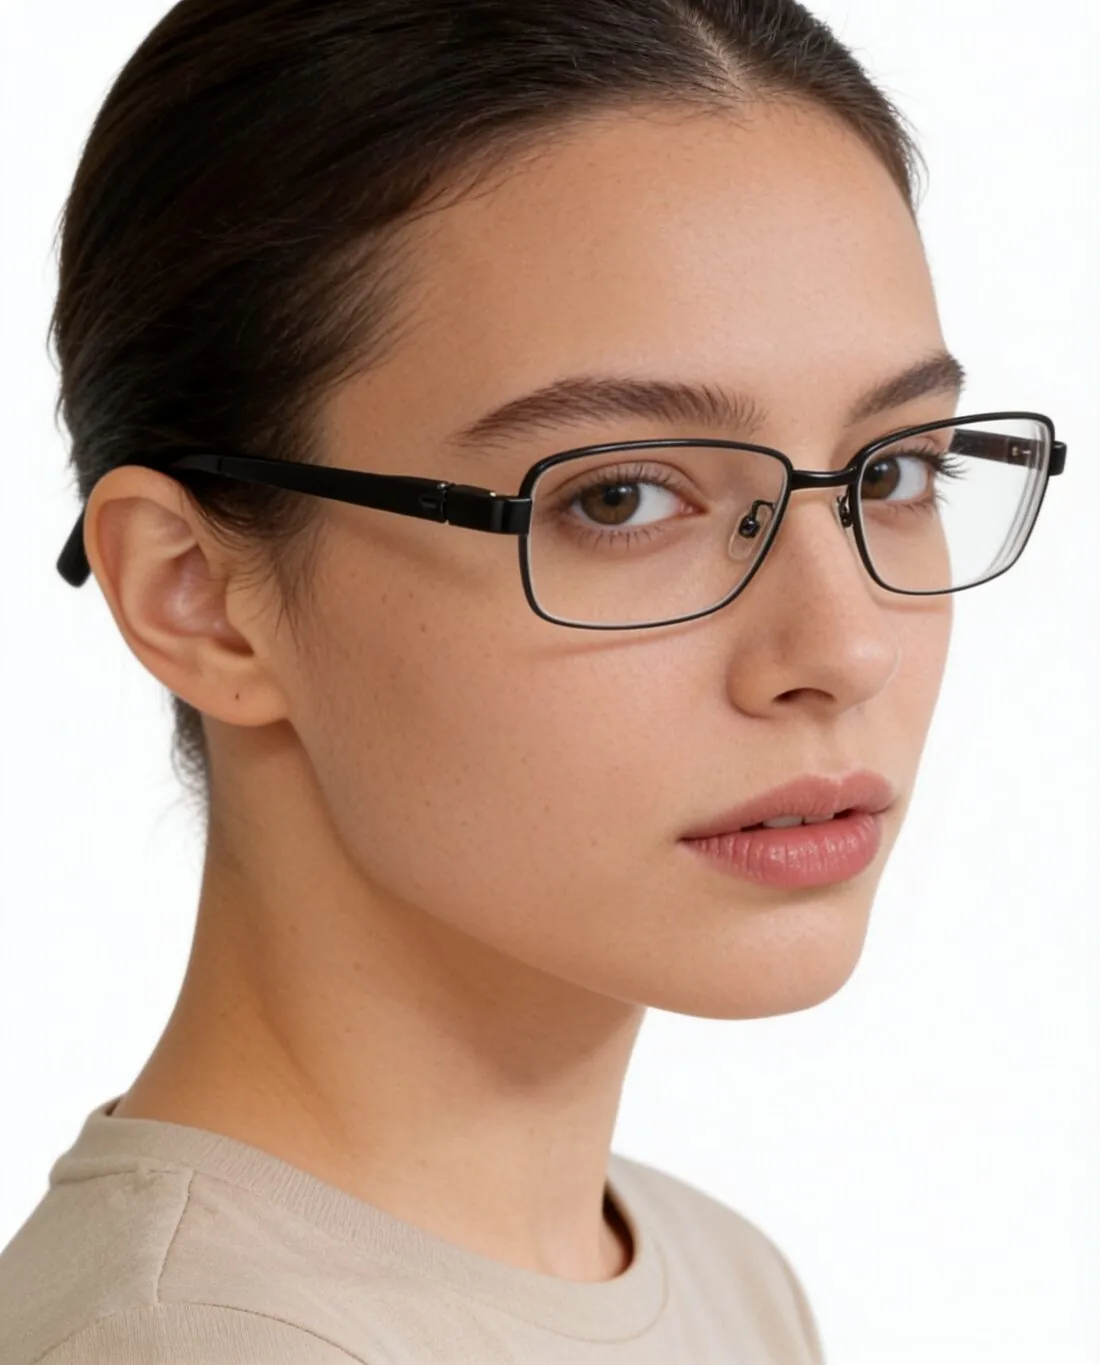
The parts of a cap buyers compare.
- 1
Peak: curved or flat
A curved peak and a flat snapback peak belong to different styles, and the underside is often a contrast colour. Check that the peak kept its curve, its length and its rows of stitching, and that the underside colour was not carried onto the top.
- 2
Crown panels and profile
Five panels or six, a structured front or a soft one, a mesh back on a trucker cap: the crown decides how high the cap stands. Look at the seams and the eyelets, and confirm that mesh panels are still open mesh and not solid cloth.
- 3
Front logo and back closure
Embroidery, a woven patch or a rubber badge sits centred on the front and is briefed to stay as photographed; read its lettering at full size. The snap strap, buckle or hook-and-loop tab at the back is seen only from behind, and needs a photo of its own to be reproduced.
Photographing a cap front on.
- Stuff the crown with tissue so the front panels stand, and place the cap on a plain surface with the logo facing the camera.
- Hold the phone level with the front panel, just above the peak, so the logo is not foreshortened and the peak keeps its true length.
- Fasten the back closure at a middle setting, and take a second photo from behind when the strap, an embroidered word or a mesh back should be recorded.
Virtual try-on for caps, answered.
Can the cap be shown from behind, with its strap?
A back photo can be added to the required front photo. The closure, the opening above it and any embroidery there are recorded only in that second photo, and a part that no photo shows cannot be reproduced faithfully. Compare the snap strap or buckle in the result with the cap before publishing.
Is a flat peak kept flat on the model?
The peak is read from the photo, and the brief is to leave the shape of the product alone. Photograph a flat peak from an angle that shows it is flat, and a curved one so the curve is visible. Then compare the two; a peak that changed shape changes the style of the cap.
Should stickers and hang tags stay on the cap?
Remove anything that is not part of the product, unless the cap is sold with a sticker on its peak. Herofab is briefed to keep what the photo shows, so a hang tag or a size sticker would be treated as part of the cap. A cap still in its bag or box is flagged before a credit is spent.
How much does it cost?
5 credits per image, plus one credit for 4K. The cost is shown before you generate, and if a job fails the credits are returned. The 20 free credits at sign-up cover 4 images with this tool.
Your next collection, shot this week.
20 credits at sign-up, no card required. Images made with free credits carry a watermark.