1. Where location photos belong
Most marketplaces ask for the product alone on a plain, usually white, background in the main image, and allow lifestyle and on-model shots in the additional images. Keep the first image plain and use location photos from the second image on, on your own shop and on social media.
Google Merchant Center accepts AI-generated images in image_link, additional_image_link and lifestyle_image_link, and asks sellers to keep the embedded metadata that marks them as AI-generated.
2. One place per collection
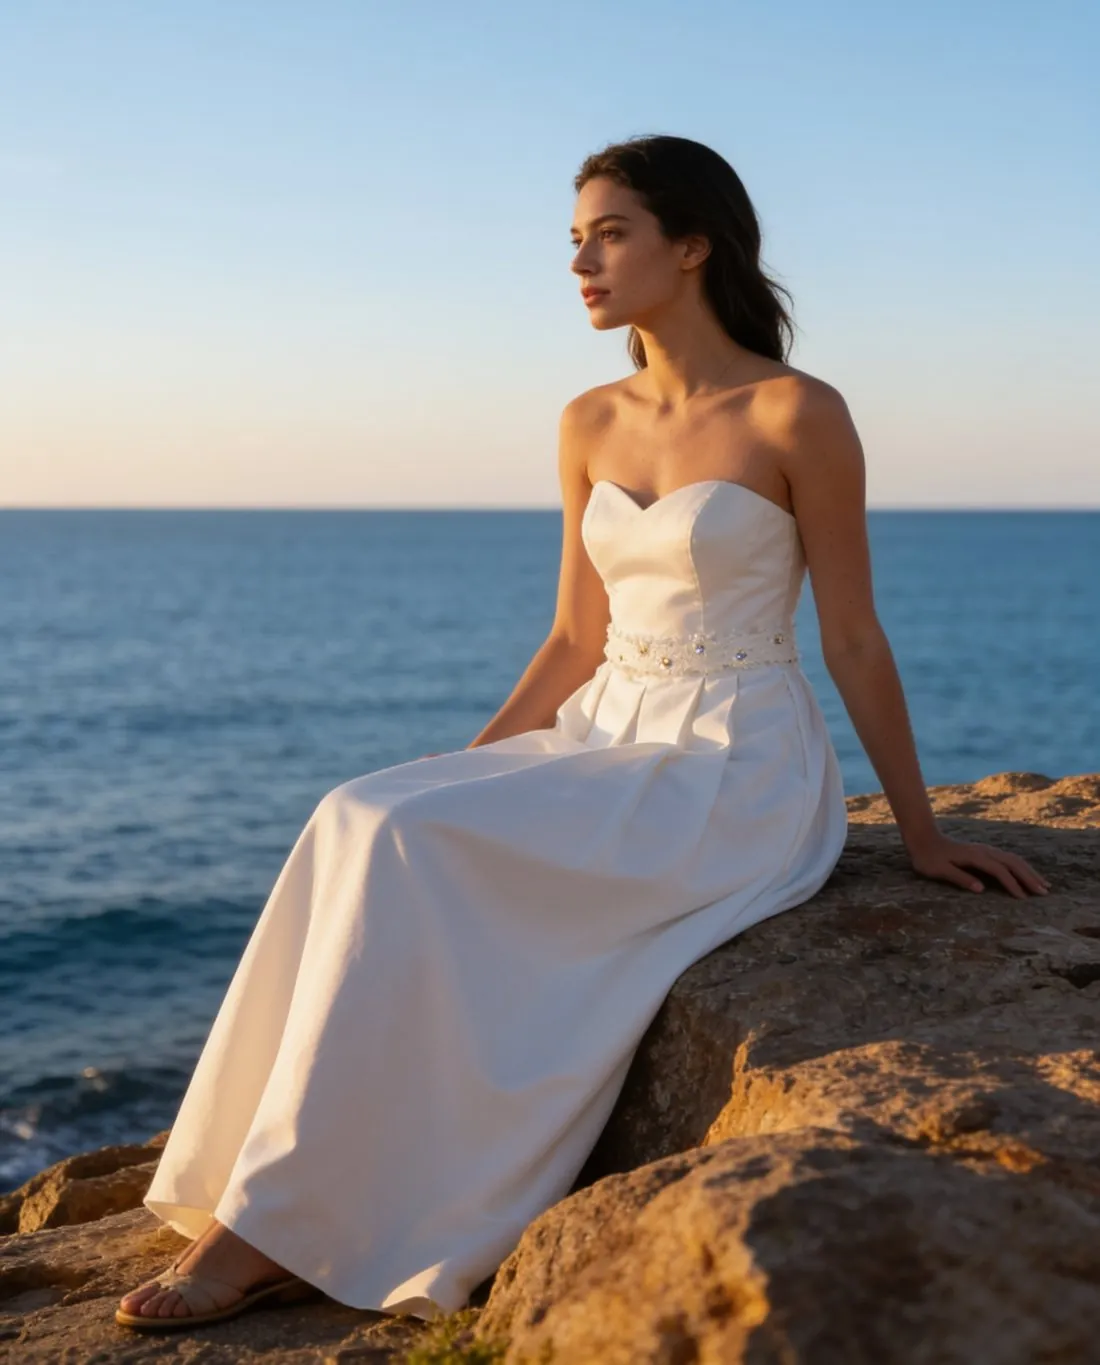
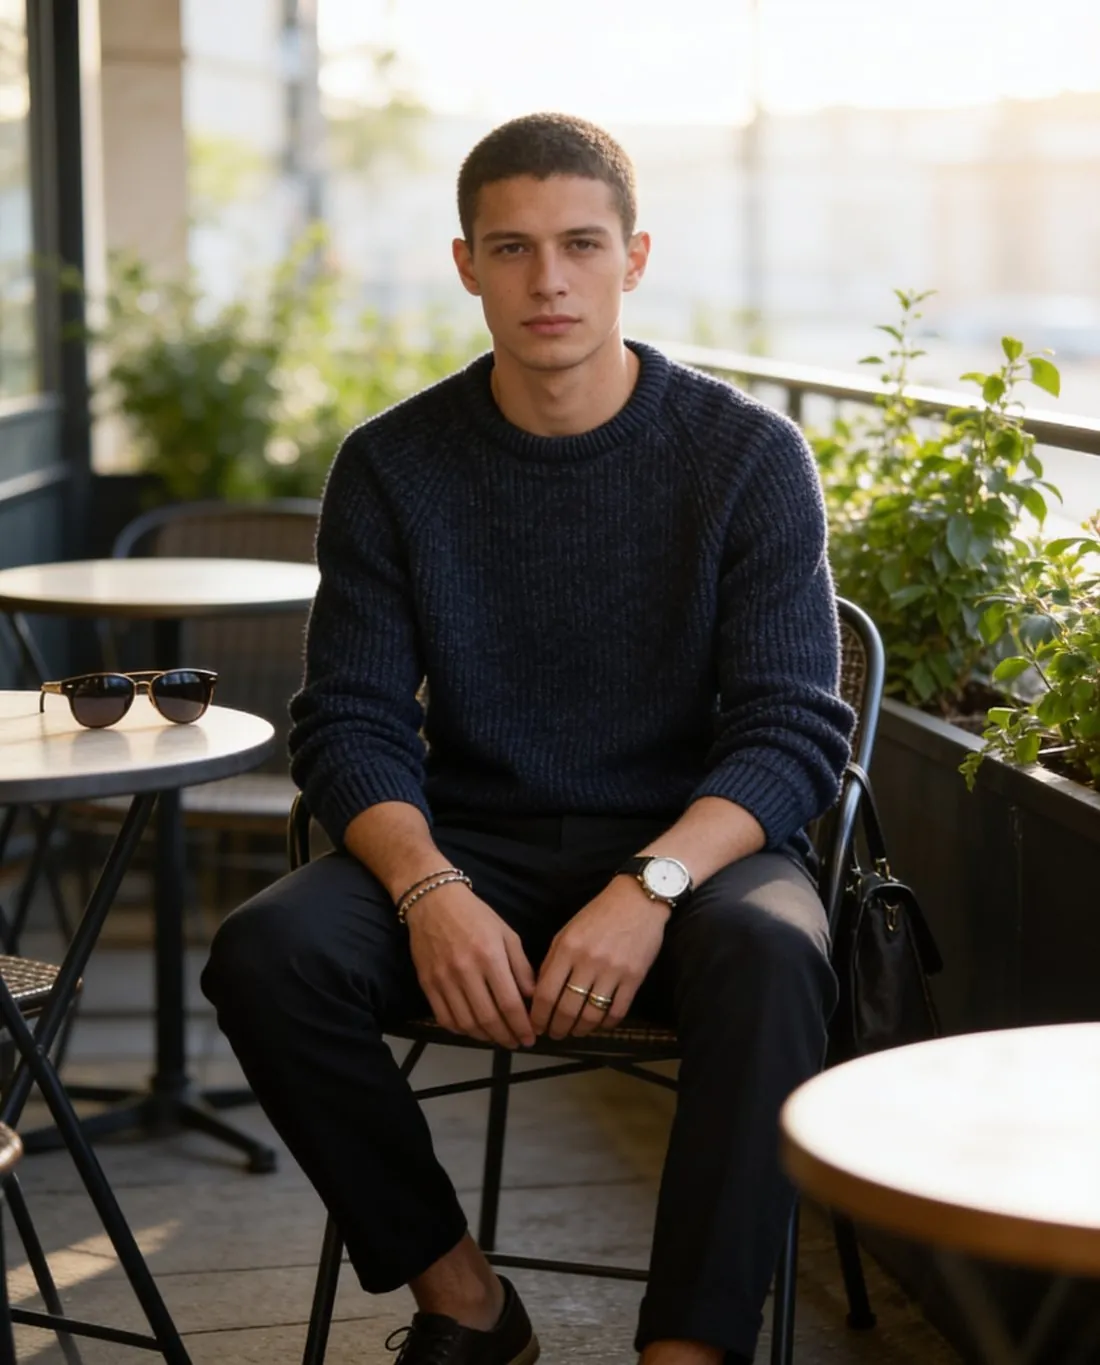
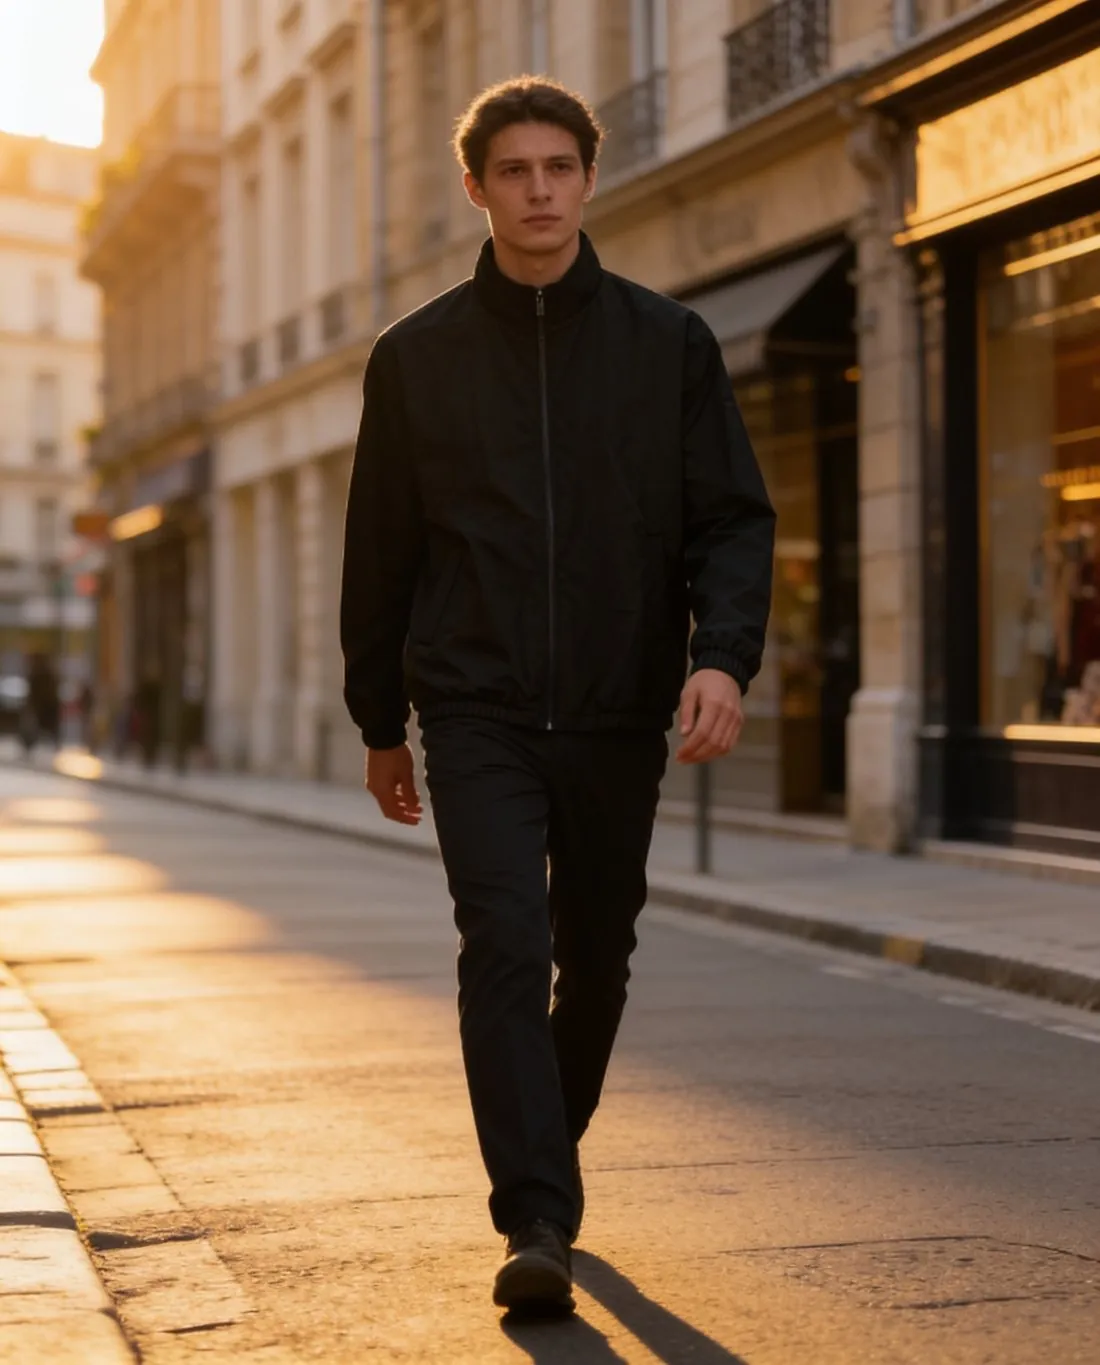
A collection shot in one place reads as one campaign: coastal rocks for summer linen, a city street for outerwear, a café terrace for knitwear. Changing the place on every product makes a category page look like a stock-photo search.
3. Choose the light, keep the colour
Golden hour, morning and overcast light each set a different mood. Warm light can make black look brown and white look cream, so compare every result with the garment before you publish: the colour in the photo is the colour the buyer expects to receive.
4. Poses that belong to the place
A model sits on the rocks, leans on the pier railing or walks down the street — a pose that uses the place looks like a campaign, a studio pose pasted into a landscape does not. Show the same model in several poses in the same place, so a product page reads as one shoot.
5. Accessories that never cover the product
Sunglasses, a watch or a small bag make a look complete. They stay off the product: nothing worn over it, nothing hiding a pocket or a print, and no logo that competes with yours.
Checklist
- First image plain; location photos from the second image on
- One place for the whole collection
- Colour checked against the garment in every light
- Poses that use the place, the same model across the set
- Accessories beside the product, never over it
Sources
Checked 24 September 2026. Rules change; the official pages are the final reference.